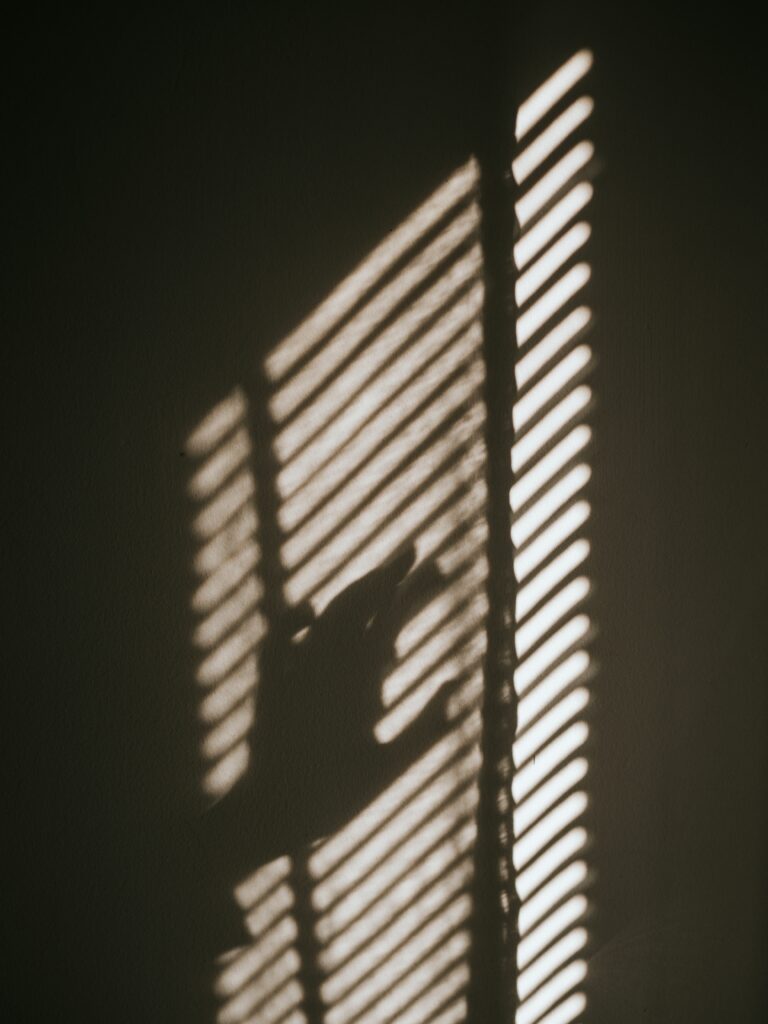
Roll up blinds can add a touch of elegance and sophistication to any room, and they’re perfect for those who want to control the amount of natural light that comes in. If you’re looking for a cost-effective way to update your windows, why not try making your own roll-up blinds? With just a few materials and a little bit of time, you can create beautiful and functional blinds that will suit any decor style. In this post, we’ll guide you through the process of making DIY roll-up blinds. Remember to exercise caution with homemade blinds, especially if you have young children. More information available here.
Making the DIY Blinds:
What You’ll Need:
- Fabric of choice
- Dowel rod
- Ribbon or twine
- Needle and thread
- Scissors
- Iron
- Tape measure
- Drill or hammer and nails (optional)
- Velcro strips or brackets (optional)
Step 1: Measure Your Windows
Before you start, measure the width and length of your window. Add an extra 2 inches to the width and 6 inches to the length to account for hemming, and add an additional 3 inches to the width to allow for overlap.
Step 2: Cut Your Fabric
Using your measurements, cut your fabric to the appropriate size. Be sure to hem the edges of the fabric to prevent fraying.
Step 3: Attach the Dowel Rod
Next, sew a pocket at the bottom of the fabric to accommodate the dowel rod. Cut the dowel rod to the width of the fabric, and insert it into the pocket.
Step 4: Add Ribbon or Twine
At the top of the fabric, add a ribbon or twine to serve as a tie. Sew the ribbon or twine securely in place, making sure it’s long enough to wrap around the dowel rod.
Step 5: Install Your DIY Blinds
Install your roll-up blinds by attaching Velcro strips or brackets to the wall or window frame. Alternatively, you can use a drill or hammer and nails to attach the brackets. Be sure to measure the placement of the brackets carefully to ensure your blinds hang straight.
What Are Some Other DIY Blinds Tips?
- Choose a fabric that complements your decor style and is durable enough to withstand regular use.
- Be sure to iron your fabric before you start working on it to avoid wrinkles.
- If you want to refresh an old roll-up blind, simply remove the old fabric and use it as a template for your new fabric.
- You could add multiple dowel rods in Step 3 to create an additional visual effect when the sun shines through lighter coloured blinds. Just remember to keep them a uniform distance from each other.
- If you want to limit the light that gets in, layer several sheets of the same colour in Step 2 above. If your blind is a darker colour, you may be able to add a second sheet of black fabric behind it without it impacting your chosen colour.
Safety Notice: When installing blinds, it’s important to keep safety in mind. Make sure the cords and chains are kept out of reach of children and pets to avoid any potential accidents. If you have young children or pets in your home, consider using cordless blinds or installing cord cleats to keep the cords secure.
What Fabric Patterns Should I Use?
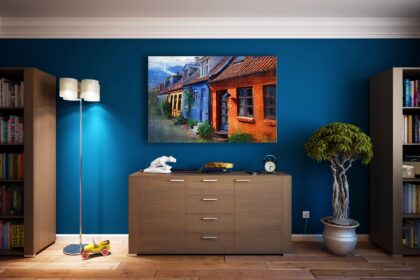
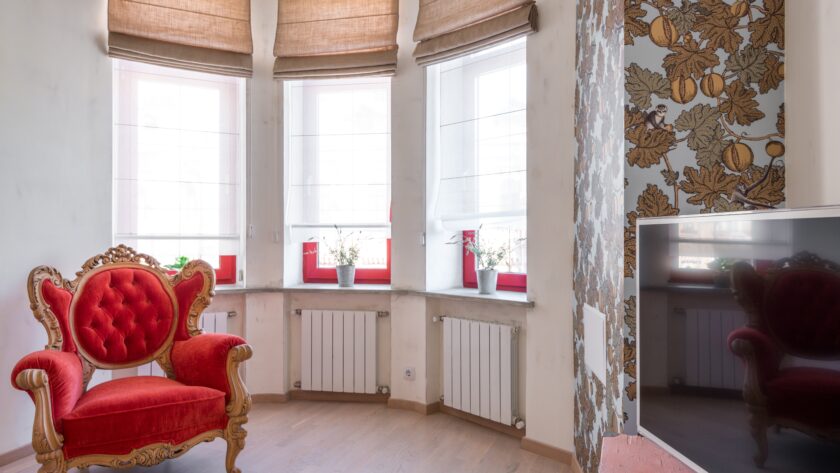
The fabric you choose for your DIY blinds can have a big impact on the overall look and feel of your space. For a calming and relaxing bedroom, consider using a soft and muted fabric with a subtle pattern, such as a floral or paisley. In a living room or dining room, a bolder pattern, such as stripes or geometric shapes, can add some visual interest to the space. And for a fun and playful kids’ room or playroom, consider using a bright and colourful fabric with a fun print, like polka dots or cartoon characters.
No matter what type of fabric you choose for your DIY blinds, be sure to measure your windows carefully and choose a fabric that is the appropriate width and length for your space. With a little bit of time and effort, you can create beautiful and functional roll-up blinds that perfectly match your style and decor.
Summary
Making your own roll-up blinds is an affordable and fun way to update your home’s decor. Blinds also give us such an easy way to control the amount of natural light in an open plan room. Plus, it’s a satisfying DIY project that can be completed in just a few hours. So why not give it a try and add a touch of personal style to your windows?