Welcome to our comprehensive guide on how to hang wallpaper like a pro! Wallpaper is a fantastic way to transform any space and add personality to your home. Whether you’re looking to create a bold statement wall or enhance the overall ambiance of a room, knowing how to hang wallpaper correctly is key to achieving beautiful and long-lasting results.
In this guide, I’ll take you through the step-by-step process of how to hang wallpaper, from selecting the right wallpaper for your needs to applying it flawlessly on your walls. I’ll cover everything you need to know, including tips and tricks for a professional finish, troubleshooting common issues, and even removing wallpaper when the time comes.
By the end of this guide, you’ll have the knowledge and confidence to take on your wallpaper project with ease. So, let’s dive in and discover the secrets to hanging wallpaper like a seasoned DIY enthusiast!

How to Choose the Right Wallpaper
A. Types of Wallpaper
When it comes to learning how to hang wallpaper, it’s important to consider the different types available. Here are some common options to explore:
- Vinyl Wallpaper: Known for its durability and ease of maintenance, vinyl wallpaper is a popular choice. It’s resistant to moisture, making it suitable for kitchens and bathrooms. Vinyl wallpaper is available in a variety of patterns and textures.
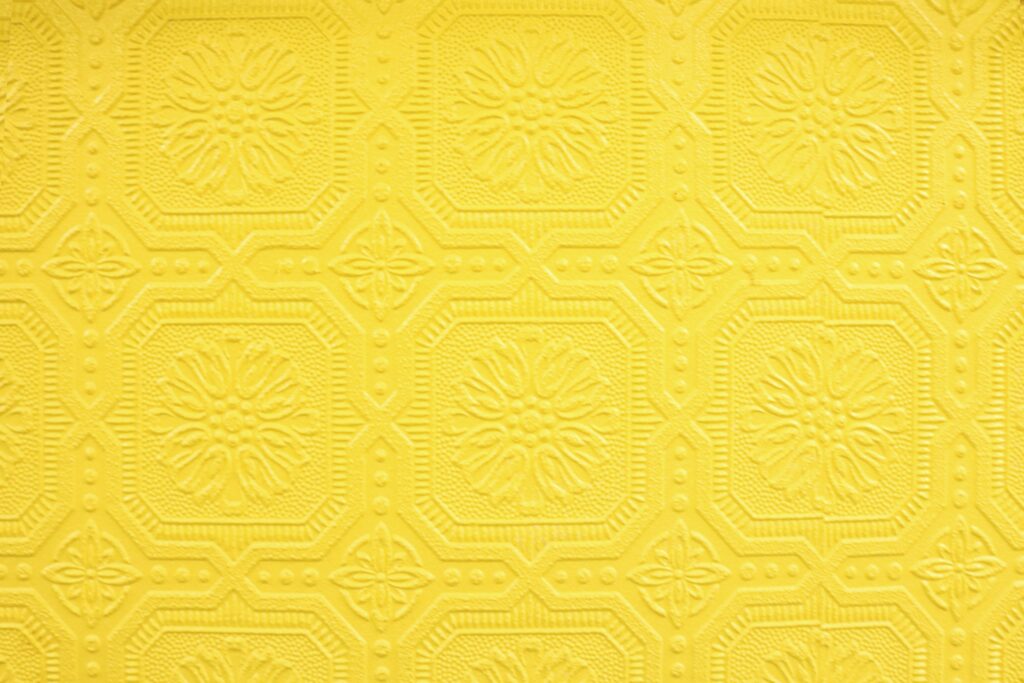
- Textured Wallpaper: If you want to add depth and dimension to your walls, textured wallpaper is a great option. It comes in various textures, such as embossed, raised, or fabric-like finishes, creating a tactile and visually appealing surface.
- Non-Woven Wallpaper: Non-woven wallpaper is known for its ease of installation. It’s breathable and allows for easy removal without leaving residue. This type of wallpaper is available in a wide range of patterns and designs.
- Fabric Wallpaper: For a luxurious and elegant look, consider fabric wallpaper. It’s made of natural or synthetic fibers and can add warmth and texture to a room. Fabric wallpaper requires professional installation and may need more care during maintenance.
B. Selecting the Right Pattern and Design
- Considering the Room’s Style: Take into account the style and ambiance you want to achieve in the room. If you’re going for a contemporary look, opt for geometric patterns or sleek designs. For a traditional or vintage feel, consider florals, damasks, or intricate motifs.
- Sizing and Scale of the Pattern: The size and scale of the pattern play a crucial role in the overall aesthetic. In smaller rooms, opt for smaller patterns or designs to avoid overwhelming the space. Larger patterns can make a bold statement in larger rooms.
- Coordination with Existing Décor: Consider the existing décor elements in the room, such as furniture, flooring, and accessories. Choose a wallpaper that complements or coordinates with these elements to create a cohesive and harmonious look.
By understanding the different types of wallpaper and considering factors like pattern, design, and coordination with existing décor, you can make an informed decision before learning how to hang wallpaper, and choose the perfect wallpaper for your space.
Gathering the Tools and Materials
A. Wallpaper Tools
To ensure a successful wallpaper installation, you’ll need the following tools:
- Wallpaper Paste/Adhesive: The type of paste or adhesive you need will depend on the wallpaper you choose. Read the manufacturer’s instructions and purchase the appropriate adhesive for your wallpaper.
- Wallpaper Smoother/Brush: A wallpaper smoother or brush is essential for removing air bubbles and ensuring a smooth, even application. It helps in achieving a professional-looking finish.
- Utility Knife: A sharp utility knife is necessary for trimming the edges of the wallpaper and making precise cuts during installation. Make sure to have spare blades on hand for replacements.
- Tape Measure: Accurate measurements are crucial for a precise installation. Use a tape measure to measure the height and width of the walls to determine the amount of wallpaper you’ll need.
- Level: A level is used to ensure that the wallpaper is applied straight and aligned. It helps maintain even lines and prevents crooked installations.
- Wallpaper Scissors: Wallpaper scissors have a specialized design with long blades that allow for smooth and clean cuts. These scissors are specifically designed for working with wallpaper materials.
B. Additional Materials
In addition to the specific wallpaper tools, you’ll also need the following materials to hang wallpaper:
- Drop Cloth or Plastic Sheeting: To protect the floor and furniture, lay down a drop cloth or plastic sheeting to catch any paste or debris that may fall during the installation process.
- Primer (if required): Depending on the condition of the walls, you may need to apply a primer before hanging the wallpaper. The primer helps create a smooth surface and enhances the adhesion of the wallpaper.
- Sandpaper (if needed): If there are any rough or uneven areas on the walls, sandpaper can be used to smooth them out before applying the wallpaper. This step ensures a clean and even surface for better adhesion.
By gathering the necessary tools and materials beforehand, you’ll be well-prepared for a smooth and efficient wallpaper installation process.
How to Hang Wallpaper
A. Cutting the Wallpaper Panels
Before applying the wallpaper, follow these steps to cut the panels accurately:
- Measure and mark: Measure the height of the wall and add a few inches to allow for trimming. Mark the measurements on the back of the wallpaper, using a pencil or chalk.
- Cut the panels: Using a straight edge and a sharp utility knife, carefully cut along the marked lines to create individual wallpaper panels. Take care to make clean, straight cuts.
B. Applying the Wallpaper Paste
Properly applying the wallpaper paste is crucial for a successful installation:
- Read the instructions: Follow the manufacturer’s instructions for the specific wallpaper paste you’re using. Some pastes require mixing, while others come pre-mixed.
- Use a paste brush or roller: Apply an even layer of paste to the back of the wallpaper, working from the center outwards. Make sure to cover the entire surface but avoid applying excessive paste that may cause the wallpaper to become too wet.
C. Hanging the First Panel
Follow these steps to hang the first panel accurately:
- Start at a corner: Begin in a corner of the wall, as it will provide a reference point for the rest of the installation.
- Align the edge: Align the edge of the wallpaper panel with the plumb line or level line you marked during the preparation stage.
- Smooth it out: Gently press the wallpaper against the wall, starting from the top and working your way down. Use a wallpaper smoother or brush to eliminate air bubbles and ensure a smooth application.
D. Aligning and Smoothing
After hanging the first panel, continue with the following steps:
- Align the pattern: Match the pattern on the next panel to the previous one, ensuring a seamless and cohesive look. Take care to align the edges and patterns accurately.
- Smooth out air bubbles: Use a wallpaper smoother or brush to smooth out any air bubbles or wrinkles that may appear during installation. Start from the center and work your way towards the edges.
E. Hanging Subsequent Panels
Continue the installation by hanging subsequent wallpaper panels:
- Overlap the edges: For a seamless appearance, overlap the edges of each panel by approximately 1/4 inch. This overlap will be trimmed later.
- Match the pattern: Align the pattern of each panel, making sure it matches the previous one.
F. Trimming Excess Wallpaper
Once all the panels are hung, trim the excess wallpaper:
- Trim the top and bottom: Use a sharp utility knife and a straight edge to trim the excess wallpaper along the ceiling and floor. Make clean, precise cuts.
- Smooth the edges: Gently smooth down the trimmed edges using a wallpaper smoother or brush to ensure they are firmly adhered.
G. Dealing with Obstacles (Outlets, Windows, etc.)
When encountering obstacles such as outlets or windows, follow these steps:
- Cut around outlets: Turn off the power and remove outlet covers. Make small cuts in the wallpaper to accommodate the outlets. Smooth the wallpaper around the outlets, and then reattach the covers.
- Trim around windows: Measure and cut the wallpaper to fit around the window frame. Smooth it out, ensuring a neat and precise fit.
By following these steps, you’ll be able to apply the wallpaper smoothly and achieve a professional-looking finish.
Final Touches and Cleanup
A. Removing Air Bubbles
After applying the wallpaper, address any air bubbles that may have formed:
- Smooth with a brush: Use a wallpaper brush or smoother to gently press down and smooth out any air bubbles. Start from the center and work your way outward.
- Needle technique: For stubborn bubbles, use a needle or pin to create a small puncture in the bubble. Gently press the air out and smooth the wallpaper.
B. Cleaning Up Excess Paste
To ensure a clean and finished look, clean up any excess paste:
- Damp sponge or cloth: Dampen a sponge or cloth with warm water and gently wipe away any excess paste from the surface of the wallpaper. Be careful not to saturate the wallpaper.
- Dry with a clean cloth: Once the excess paste is removed, use a clean, dry cloth to gently pat the wallpaper dry.
C. Sealing Edges (if needed)
If the wallpaper edges are not adhering properly, consider using a wallpaper seam sealer or adhesive to secure them. Follow the manufacturer’s instructions for application.
D. Properly Disposing of Waste
As always, dispose of the waste materials in an environmentally responsible manner:
- Roll up and secure: Roll up any leftover wallpaper scraps or trimmings and secure them with tape or a rubber band.
- Proper disposal: Check local regulations for proper disposal methods. Most areas allow disposal with regular household waste, but it’s best to verify beforehand.
Troubleshooting and Tips
A. Dealing with Pattern Matching
When working with patterned wallpaper, ensure proper pattern matching:
- Double-check patterns: Before cutting and hanging each panel, verify that the pattern aligns with the previous one. This attention to detail will result in a seamless look.
- Use a seam roller: To ensure a tight and smooth seam between wallpaper panels, use a seam roller to press down and secure the edges.
B. Repairing Mistakes
If you make a mistake during installation, don’t panic. Here’s how to address common errors:
- Lift and reposition: If a panel is misaligned or has air bubbles, gently lift and reposition it. Smooth out any wrinkles or bubbles as you press it back into place.
- Patching small tears: For small tears or punctures, use a small piece of spare wallpaper or a repair patch to cover the damaged area. Apply adhesive to the patch and carefully smooth it into place.
C. Managing Difficult Areas (Corners, Ceilings, etc.)
Certain areas can pose challenges during wallpaper installation. Consider these tips:
- Corners: When working around corners, carefully fold the wallpaper over and into the adjoining wall. Use a smoother or brush to press it firmly into place.
- Ceilings: When wallpapering up to the ceiling, use a straight edge and a sharp utility knife to trim the excess wallpaper along the ceiling line. Take care to make clean and straight cuts.
D. Tips for a Professional-Looking Finish
To achieve a professional-looking finish when hanging wallpaper, keep these tips in mind:
- Take your time: Wallpaper installation requires patience and attention to detail. Rushing can lead to mistakes or an uneven finish.
- Use a level and plumb line: Ensure that your wallpaper is straight and aligned by using a level and plumb line as reference guides.
- Maintain a clean work area: Regularly clean your work area to remove any debris, excess paste, or other materials that could interfere with a smooth installation.
- Enjoy yourself! You’re setting up your room to be enjoyed for years to come.
By following these final touches and troubleshooting tips, you can ensure a beautiful and well-finished wallpaper installation in your space.
In Summary
You’ve now learnt how to hang wallpaper! With the right tools, materials, and techniques, hanging wallpaper can be a rewarding and transformative DIY project. Whether you’re looking to add personality, texture, or color to your walls, these step-by-step instructions and tips will guide you through the process. Remember to choose the right wallpaper, prepare the surface, and follow each step carefully for a professional-looking finish. Enjoy the satisfaction of a beautifully wallpapered space that reflects your style and creativity. Don’t fancy wallpapering your walls? Learn how to paint them instead!