My partner and I recently bought a house in the North East of England, which needs a LOT of work (more than we anticipated when we bought it!). Couple that with the fact that we are expecting our first baby in a couple of months means that the new few months will be very very busy for us. When we bought the house, we had no idea on the cost to rewire a 3 bedroom house!
One of the main things that needed doing with the house was a full rewire – as I’d never been through this process before I spent ages online looking at how much it costs to rewire a 3 bedroom house so that I wasn’t being ripped off by electricians. In addition to this, I had no idea how to prepare the house for them to come in or a timeframe for the work to be completed. I thought I’d put together a guide to getting your house rewired to make the process as easy as possible for others in the future. With a baby on the way, keeping costs down for us is crucial, so I’ll also share some of the top tips and changes I made which resulted in a fair amount of savings.
As a bit of background, as homes age, the electrical wiring within them may deteriorate or become outdated, posing potential safety hazards. Rewiring a house is a crucial step in ensuring the safety and functionality of your electrical system. Whether you’re planning a renovation or concerned about the condition of your wiring, understanding the process and costs involved can help you make informed decisions and prioritise the safety of your home and family.
What to Expect on a 3 Bedroom House Rewire
When embarking on a rewiring project for your 3 bedroom house, it’s essential to understand the scope of the work and what to expect throughout the process. Here’s a breakdown of key aspects to consider based on my experience:
1. Assessment
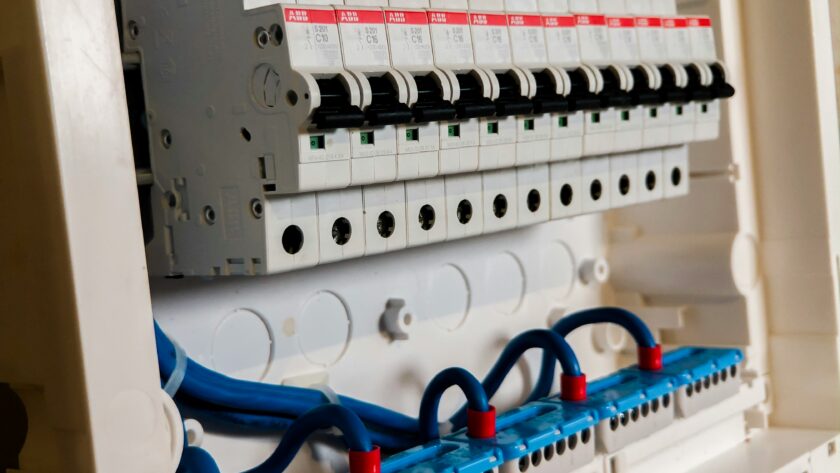
The first step involves deciding whether you even need a rewire at all. If you just want a few sockets adding and a light switch here and there you probably don’t. In our case our consumer unit (fusebox) was around 30/35 years old, and most rooms in the house only had one socket. As a general rule of thumb I find that mid/large sized bedrooms need around 4 sockets to manage all the electrical devices we have nowadays, so for us every room needed a serious upgrade.
2. Planning for your rewire
Once you’ve decided that a rewire is needed, before you get an electrician in I’d recommend having a good idea on what exactly it is you’ll want. Our electrician understood our need to save costs but some might try and sell extras where you don’t need or want them. You should go around each room in the house with a piece of paper and a pen (or notes on your smartphone) and write down what you need in each room. For an average 3 bedroom house I’d recommend at least a 10way circuit board, this gives enough circuits to run around the house whilst leaving some spare space for upgrades in the future such as solar panels, EV chargers etc.
3. Find an Electrician
Now that we have our rough plan, we can start getting some quotes. As always, get at least 3 quotes from different electricians. As we’re new to the area we asked our neighbours for a recommendation, searched on a local facebook group, and used CheckaTrade. When you have them in, really spend time talking them through what you want for the house as they may also have some ideas that you haven’t thought of, maybe you want a mains linked security light out the front if you’re located on a through road, or out the back if there’s potentially easy access to your property. Once you’ve got your 3 quotes, don’t automatically go for the cheapest as it may not be the best quality work. Ask for pictures of previous work or any local properties they’ve done similar work at so you can go and ask them. Google them or review their checkatrade page if from there to find out if they have positive reviews.
4. Plan for disruption
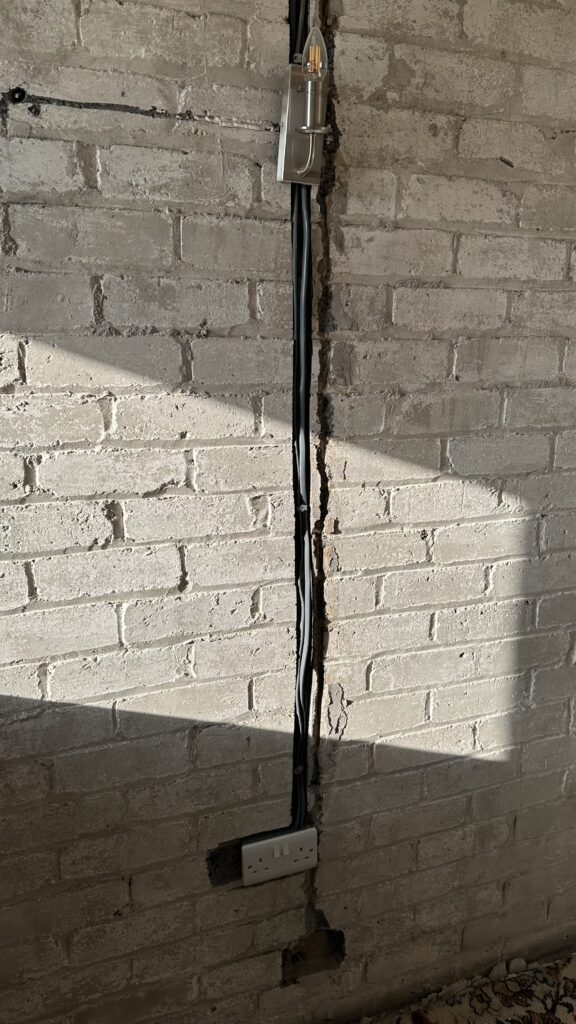
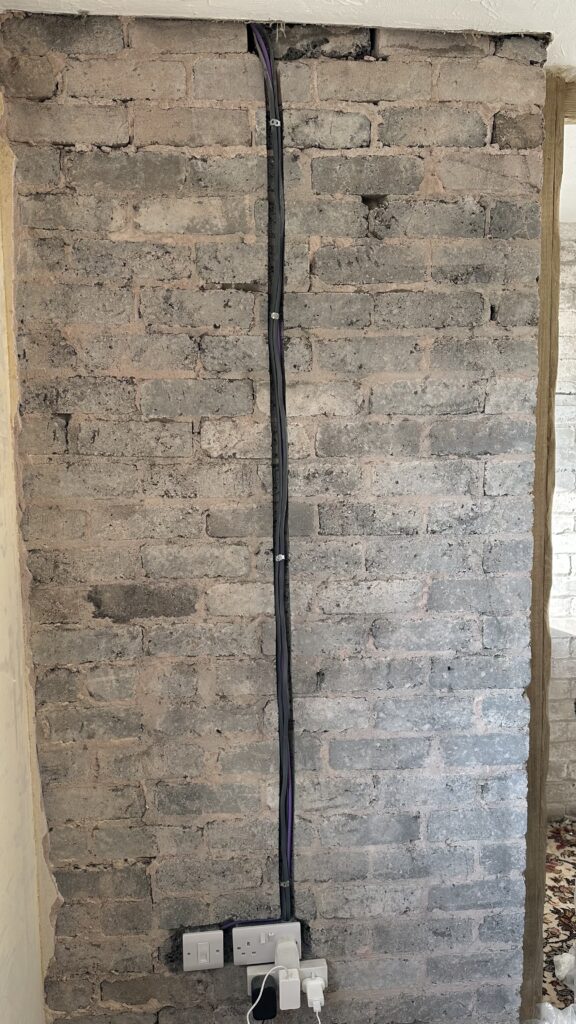
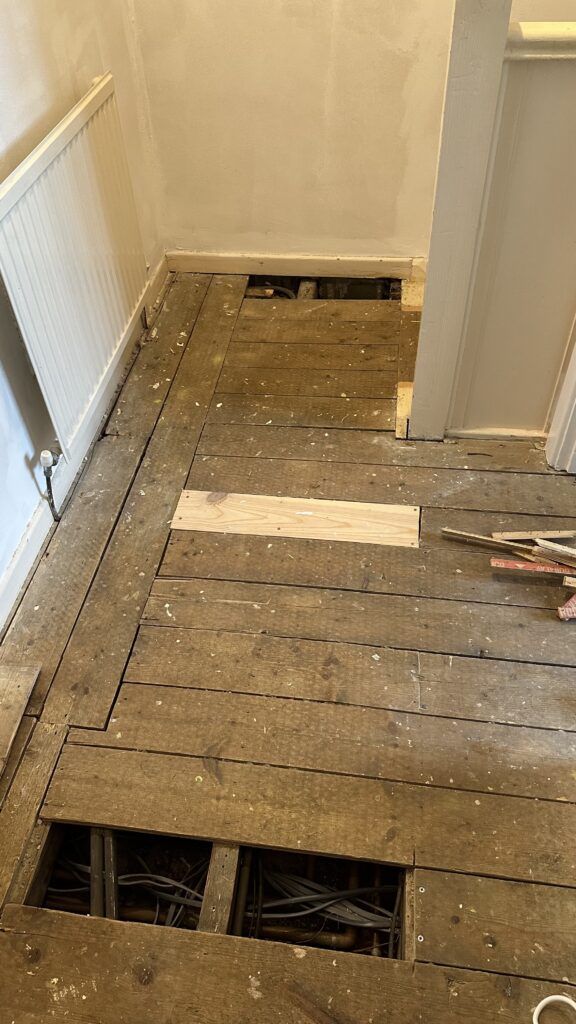
Rewiring a house is a disruptive process, as it involves cutting into walls, floors, and ceilings to access and replace the wiring. Depending on the extent of the work, you may need to temporarily relocate or cover furniture and belongings to protect them from dust and debris. We had new carpets ordered, so being able to cut into the old carpets to access wiring under the floor was a real help to the electrician.
5. How long does rewiring a 3 bedroom house take?
The duration of a rewiring project can vary depending on the size of the house, the complexity of the existing wiring, and any unforeseen issues encountered during the process. On average, rewiring a 3-bedroom house can take anywhere from 1 to 2 weeks to complete. We were living in our house whilst it was being done, which added some extra time as it needed to be safe overnight. If you’re not living in the house, expect a faster completion time and potentially a slightly lower cost too.
6. Certification
Upon completion of the rewiring work, your electrician should provide you with a certificate confirming that the electrical installation meets current building regulations. This certificate is essential for insurance purposes and may be required if you decide to sell your home in the future.
How Much Does it Cost to Rewire a 3 Bedroom House?
Understanding the cost of rewiring a 3-bedroom house is crucial for budgeting and planning purposes. The total cost of the project can vary depending on several factors, including the size of the house, the complexity of the existing wiring, and the level of upgrades required. Here’s a breakdown of the typical pricing considerations:
- Labour Costs: Labour costs typically account for the majority of the expense when rewiring a house. Electricians charge by the hour or by the project, with rates varying depending on their level of experience and the location of your property. Getting at least 3 quotes is essential to make sure you’re being charged a fair price.
- Materials: The cost of materials, including wiring, sockets, switches, and circuit boards will also contribute to the overall cost of the project. The type and quality of materials chosen can impact the total expense, so it’s essential to discuss your options with your electrician.
- Accessibility: If your house is difficult to access or requires extensive work to reach the wiring, such as cutting through walls or digging trenches, this can increase the overall cost of the project. As I indicated earlier, our rewire took a little longer due to the fact that we were living in the house, but offset slightly as we are undergoing a full renovation so weren’t precious about carpets or holes in walls!
- Additional Upgrades: In some cases, you may choose to upgrade other electrical components during the rewiring process, such as installing new light fixtures, adding extra outlets, or upgrading to smart home technology. These additional upgrades will incur additional costs.
We had 3 quotes for our rewire, ranging from £3,700 to £5,916. Based on this the average cost to rewire a 3 bedroom house is between £3,000 and £6,000, depending on the amount of work you need doing.
This was my initial list of what I wanted doing, including a new circuit board, plus a mains linked extractor fan in the bathroom and a new bulkhead style light. Having a list in this format for the electricians really made it easy to get firm quotes as I was pretty set on what we needed.
On top of this, the electrician that we went for also installed mains linked smoke and heat detectors in the kitchen, hallway, and landing, plus a new LED batten light in the kitchen.
Now, let’s look at some of my top tips for keeping prices down if you’re focused on your budget as much as I am!
How To Keep Costs Down During a Full House Rewire
While rewiring a house is a significant investment, there are several strategies you can employ to help keep the cost to rewire a 3 bedroom house down without compromising on safety or quality. Here are some tips to consider:
1. Plan Ahead
Before starting the rewiring project, take the time to plan out exactly what needs to be done. Consider which areas of the house require rewiring and any additional upgrades you’d like to make. Having a clear plan as we discussed above in place can help prevent unnecessary expenses and delays during the project. If you have nearby relatives or friends you could stay with for a week whilst the work is ongoing, that may also help keep costs down.
2. Get Multiple Quotes
Don’t settle for the first electrician you find! Compare prices, but also consider factors such as experience, reputation, and the quality of materials they use. Choosing the right electrician can help ensure the job is done correctly the first time, saving you money in the long run.
3. Choose Cost-Effective Materials
When selecting materials for the rewiring project, opt for cost-effective options that still meet safety standards. Your electrician should be able to recommend durable, budget-friendly wiring and electrical components that will get the job done without breaking the bank. For example, we went for plain white plastic sockets and light switches, vs chrome ones which are significantly more expensive. We also stayed away from sockets with built in USB chargers. These look smart but are way more pricey than a normal socket plus they cost slightly more to power in the long run given the USB socket is always on.
4. Minimise Additional Upgrades
While it may be tempting to upgrade all of your electrical components during the rewiring process, keep in mind that each additional upgrade will add to the overall cost of the project. Focus on essential upgrades that improve safety and functionality, and save cosmetic upgrades for a later date if necessary.
5. Be Flexible with Scheduling
If possible, be flexible with your scheduling to take advantage of any cost-saving opportunities. Some electricians may offer discounted rates for off-peak times or slower periods, so inquire about potential savings when scheduling your rewiring project.
6. DIY Where Possible
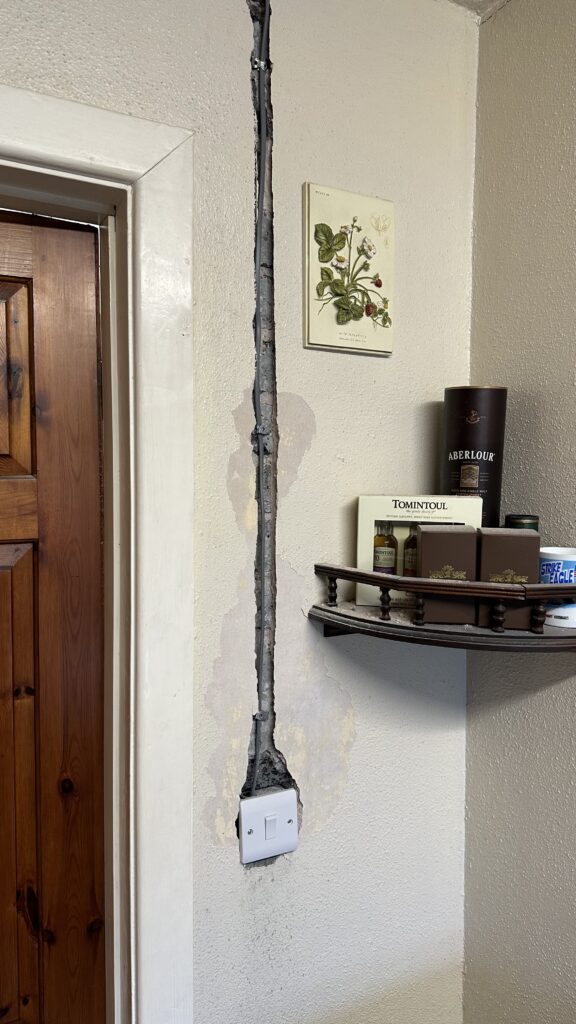
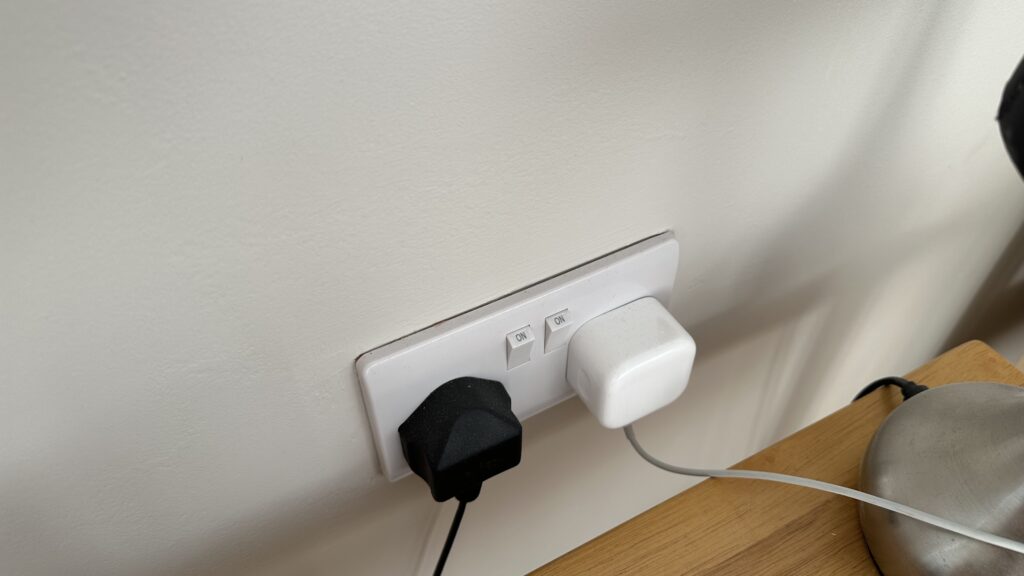
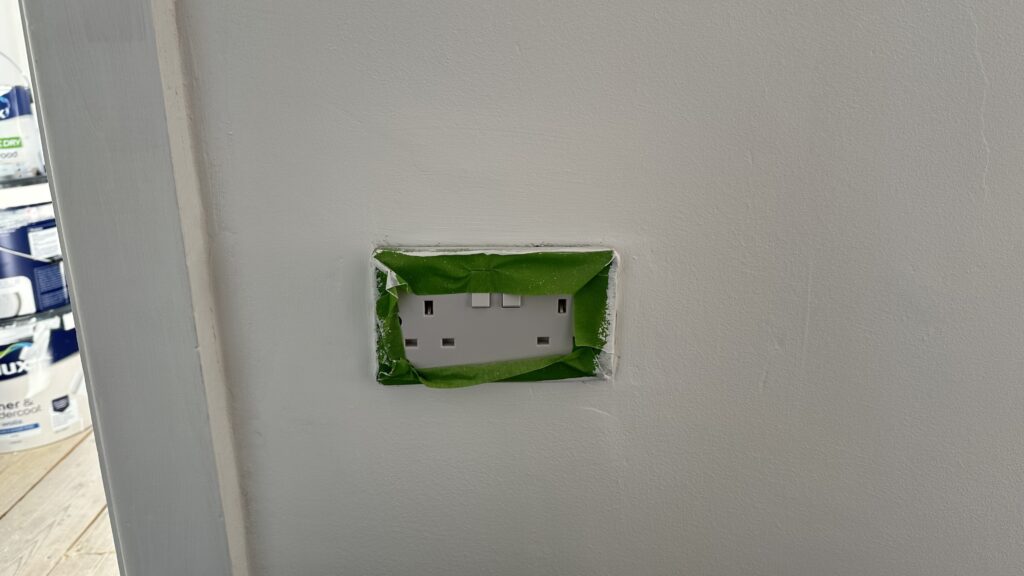
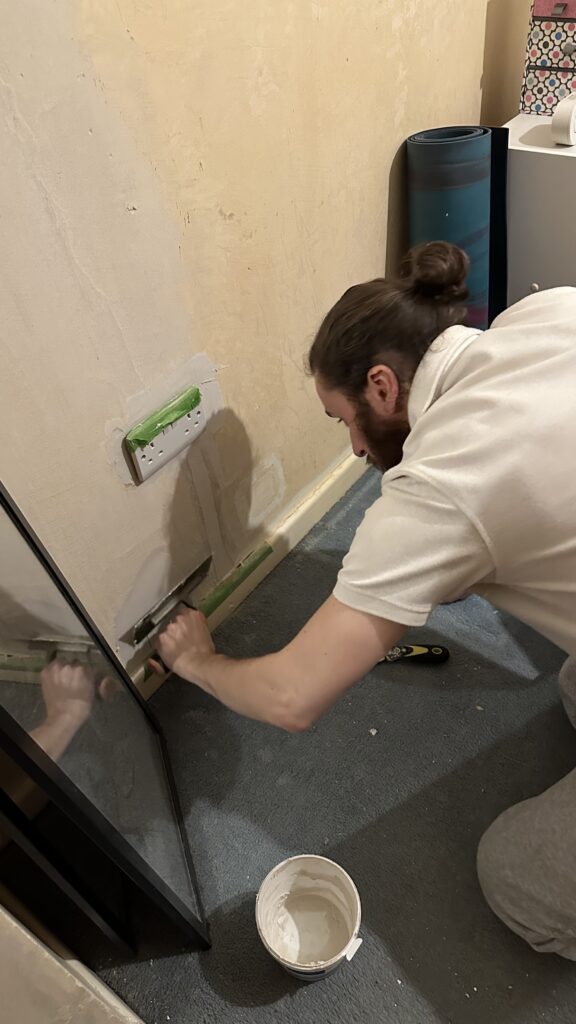
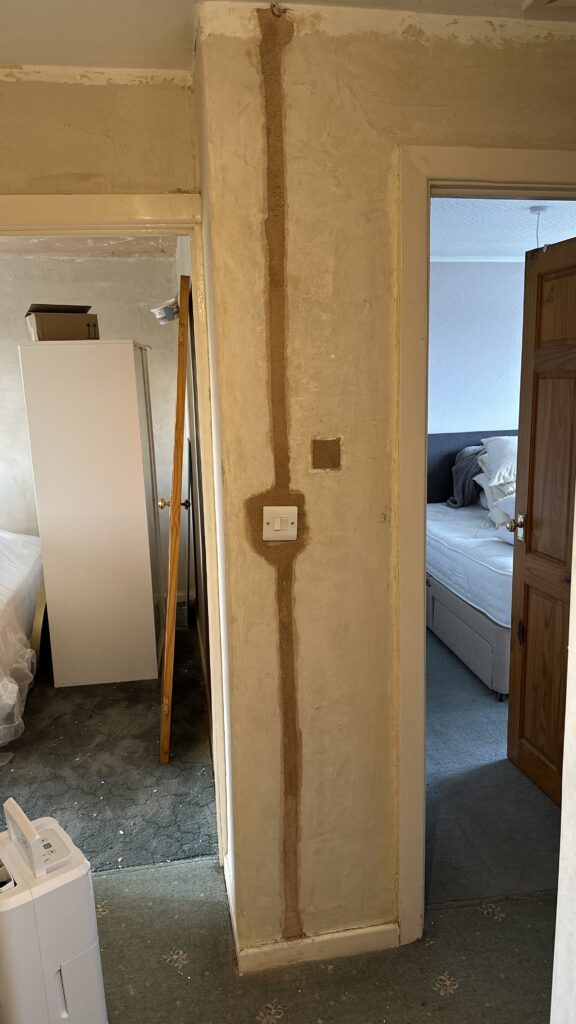
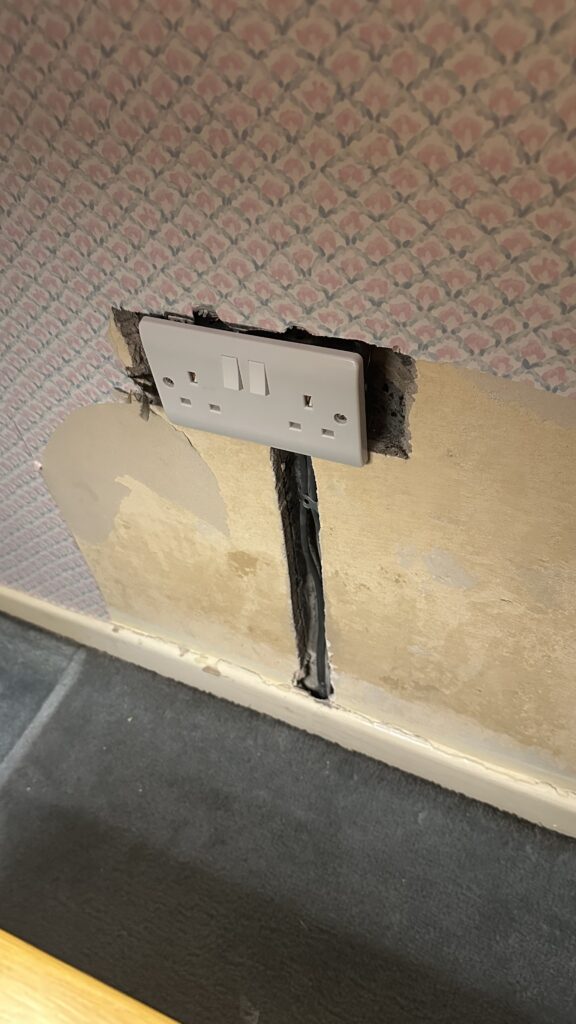
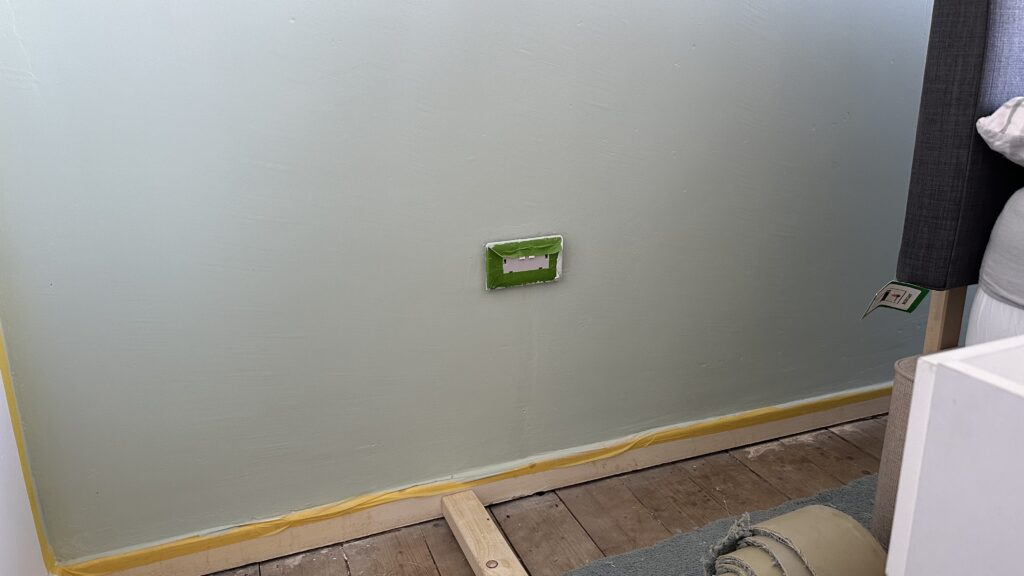
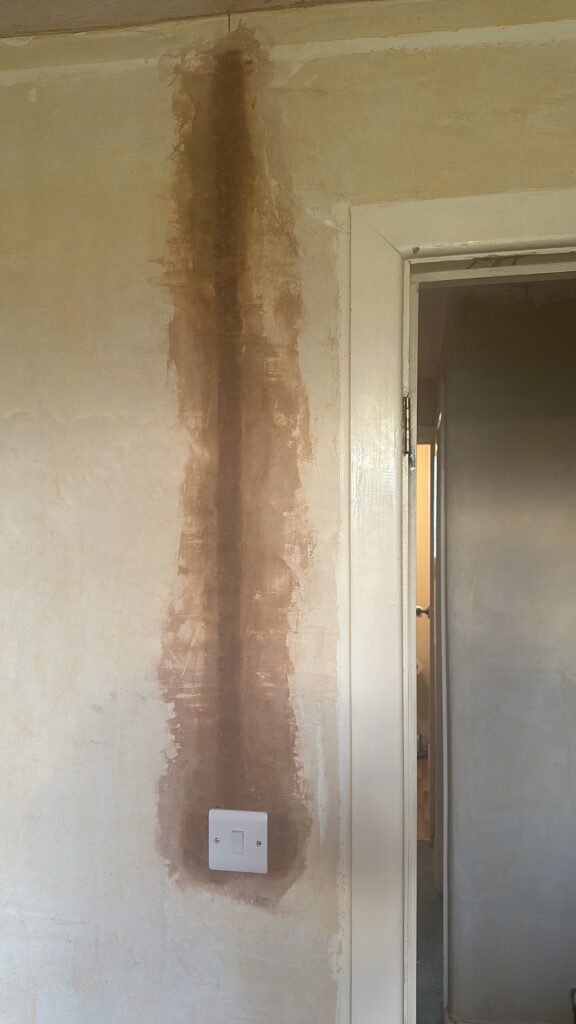
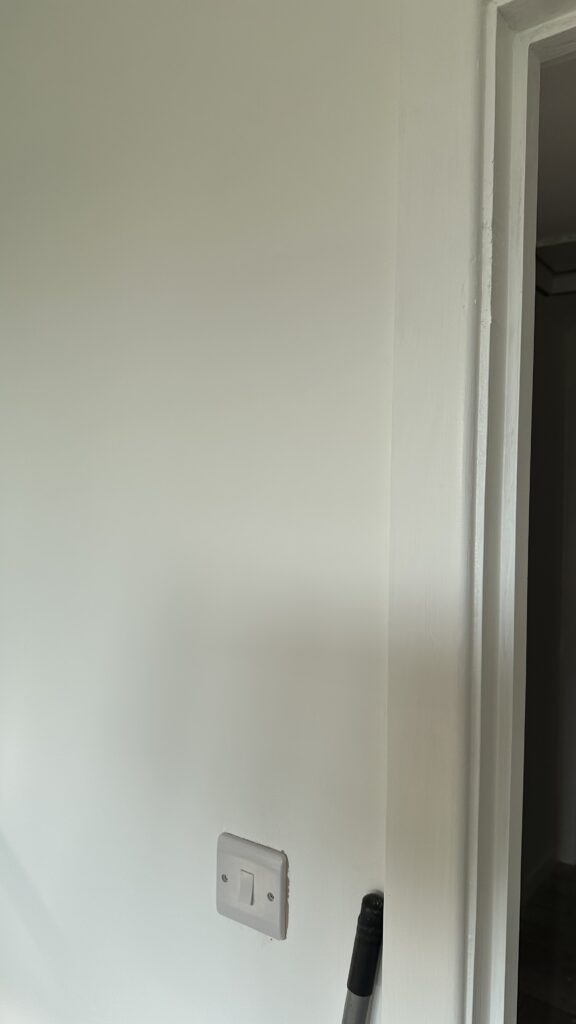
I wouldn’t be doing this page any favours by not including this one. Whilst rewiring should always be done by a qualified electrician (electrics is one of the few areas I wouldn’t touch myself beyond the basics), there may be some tasks you can safely DIY to help save on labour costs. For example, you could prepare the work area by clearing away furniture and debris or assisting with cleanup after the project is complete. Plastering over the wiring in the wall once they’d gone myself saved £300, plus I learned a new skill as I had never plastered anything before. I’ll include some before and after photos below so you can judge my work – I definitely improved as I worked my way around the house! More on How To Fill in Electrical Chases coming in the future!
By following these tips and working closely with your electrician, you can help keep the costs of rewiring your 3 bedroom house manageable while ensuring the safety and functionality of your electrical system for years to come.
As always, let me know in the comments below any thoughts on the above, or any additional tips you have from your own rewires! Are your electrical skills limited to flipping a light switch on and off? Take it to the next level today and learn How To Install a Lightbulb