Once you’ve selected your colour schemes, painting a room is a fantastic way to refresh the look and feel of your space without breaking the bank. Whether you’re aiming for a subtle transformation or a bold statement, DIY painting allows you to unleash your creativity and customise your living environment. In this guide, we’ll walk you through the step-by-step process of painting a room, from selecting the right DIY paint type to mastering the techniques that will help you achieve professional-looking results.
What are Some Different Types of Indoor Paints for My DIY Paint Project?
When it comes to indoor painting, it’s essential to choose the right type of paint for your project. Here are the main types to consider:
Latex Paint
Latex or water-based paint is the most popular choice for interior walls. It dries quickly, emits fewer odors, and is easy to clean up with soap and water. Latex paints come in a wide range of finishes, including matte, eggshell, satin, and semi-gloss.
Oil-Based Paint
Oil-based paint offers a more durable and smoother finish, making it suitable for high-traffic areas like doors, trims, and cabinets. However, it has a strong odour, takes longer to dry, and requires mineral spirits for clean-up. I’d recommend an oil based paint if you’re looking to paint your front door too.
Primer
Primer is essential for creating a smooth and long-lasting paint job. It helps seal the surface, enhances adhesion, and improves colour accuracy. Choose a primer based on the type of paint you’ll be using and the condition of the surface you’re painting.
Specialty Paints
Depending on your specific needs, you may consider specialty paints such as stain-blocking paint for covering stains, chalkboard paint for creating a writable surface, or magnetic paint for turning a wall into a magnetic board.
Understanding the characteristics and benefits of each paint type will help you make an informed decision and achieve the desired results for your DIY paint project.
Should I use a Brush or a Roller to DIY Paint a Room?
When it comes to applying paint to your walls, you have two primary options: brushes and rollers. Each has its advantages and is suitable for different areas of your project.
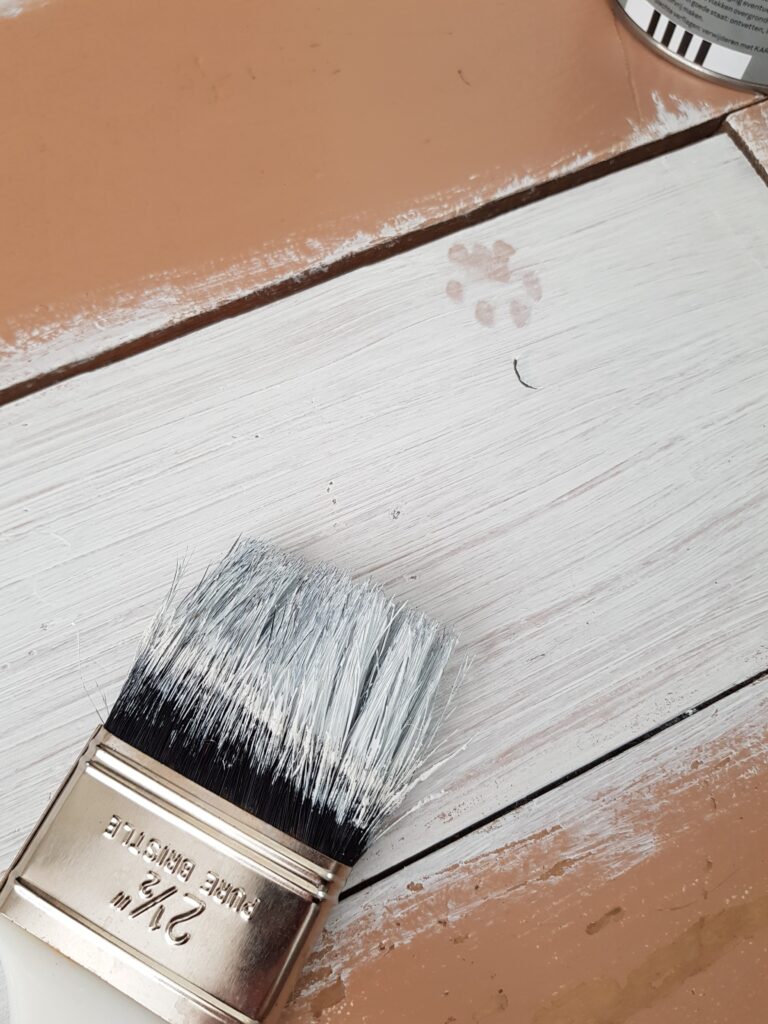
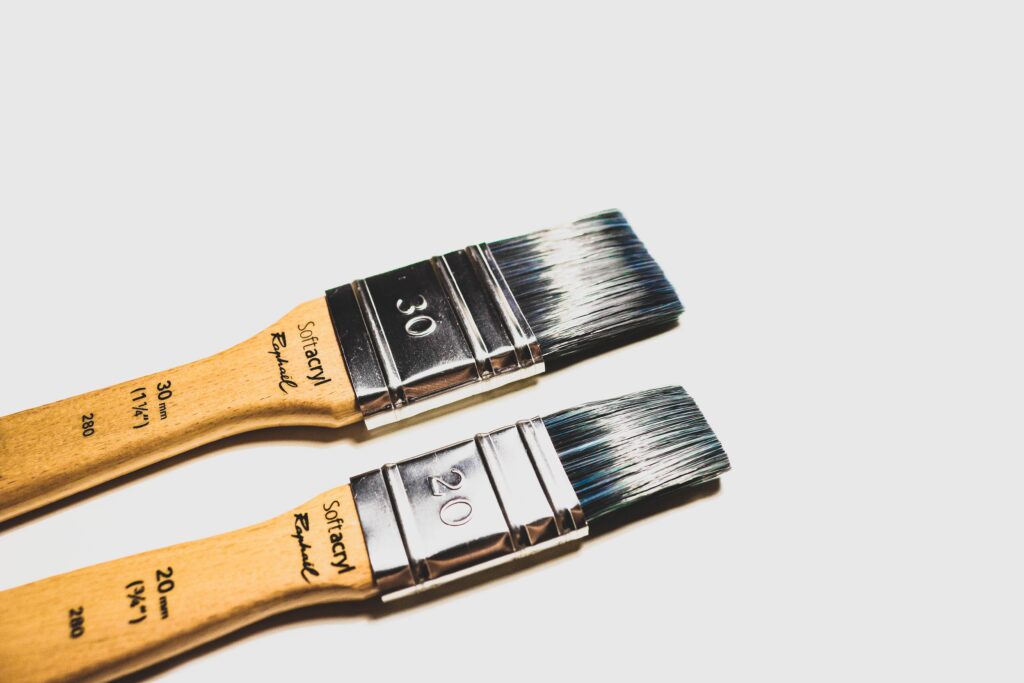
Brushes for DIY Paint
Brushes are excellent for precision work, such as cutting in along edges, corners, and trim. They allow you to have more control over the paint application and ensure a clean and detailed finish. Look for brushes with synthetic bristles for latex paints and natural bristles for oil-based paints.
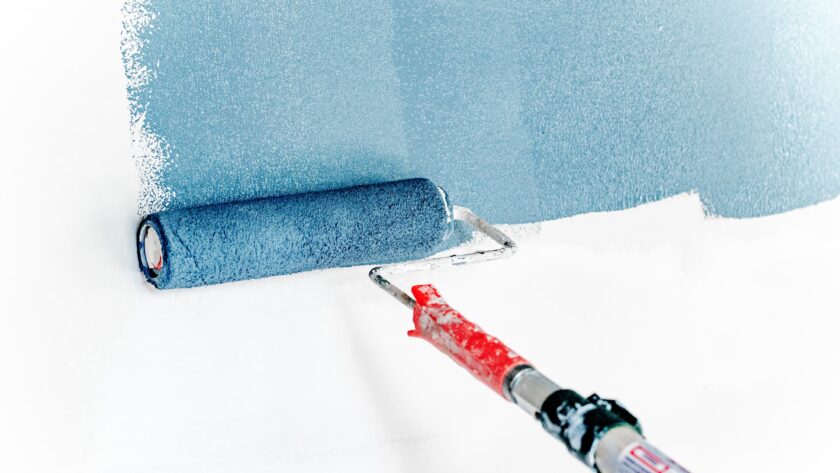
Rollers for DIY Paint
Rollers are great for covering large areas quickly and efficiently. They provide a smooth and even coat of paint, making them ideal for walls and ceilings. Use a roller with a suitable nap length (short for smooth surfaces, long for textured surfaces) and select the appropriate roller cover based on the type of paint you’re using.
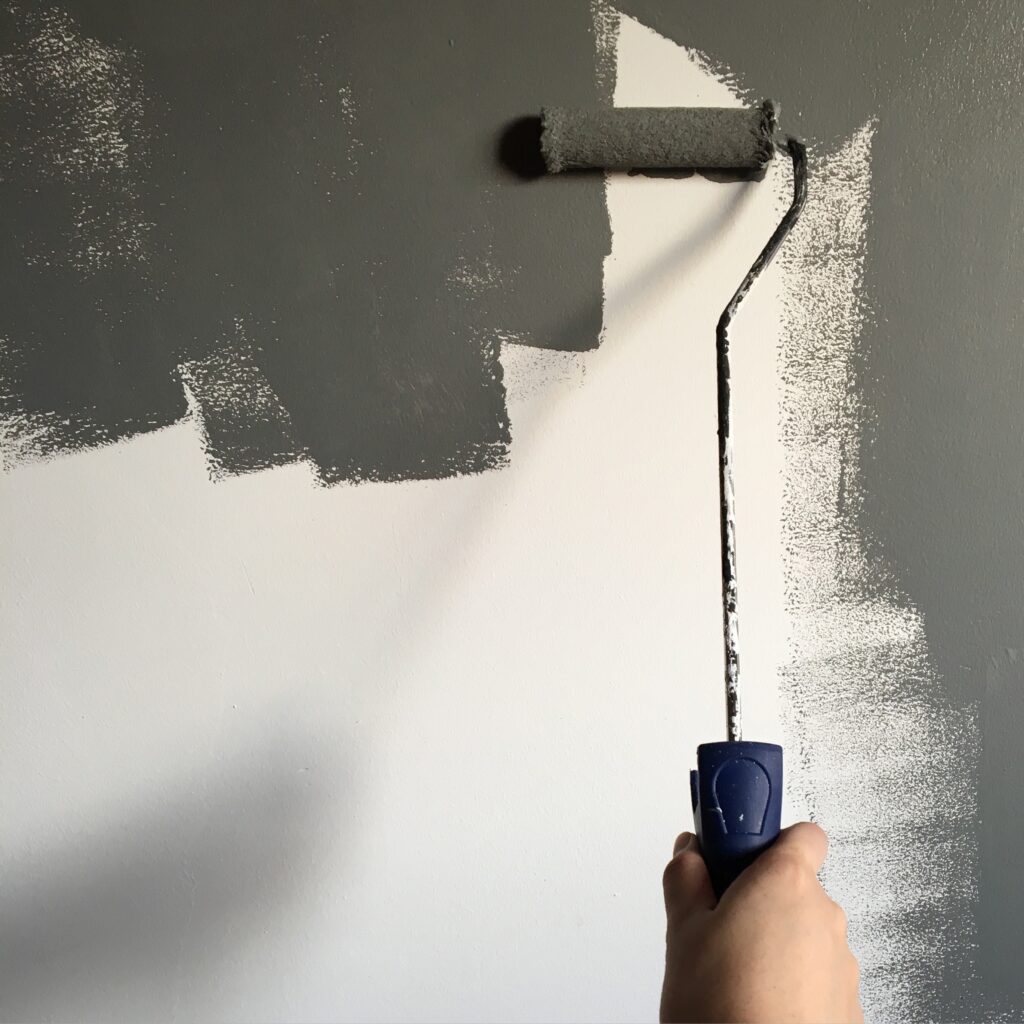
Consider using a combination of brushes and rollers to maximise efficiency and achieve the best results. Start by using a brush to cut in along edges and trim, then switch to a roller for larger areas to save time and ensure consistent coverage.
Tools You’ll Need to DIY Paint a Room
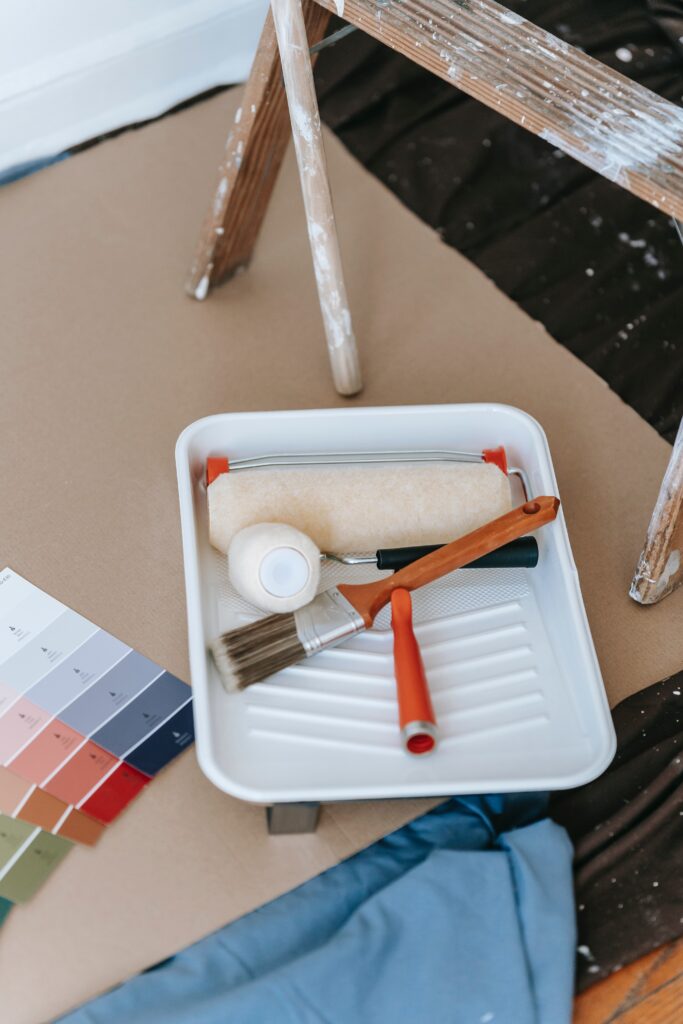
Before you begin painting, make sure you have the following tools on hand:
- Paintbrushes: Get a variety of sizes, including angled brushes for cutting in and trim work.
- Rollers: Choose a roller frame and covers suitable for your specific project.
- Paint Tray: Use a tray to hold and distribute the paint for the roller.
- Drop Cloths: Protect your floors and furniture by covering them with drop cloths or plastic sheets.
- Painter’s Tape: Use painter’s tape to mask off areas you want to keep paint-free, such as trim, baseboards, and windows. (Psst: masking tape is cheaper and achieves the same result!)
- Sandpaper: If necessary, sand the surface to ensure a smooth and even paint application.
- Putty and Putty Knife: Use putty to fill any holes or imperfections on the walls and a putty knife to apply it.
Having the right tools readily available will make your DIY paint project more efficient and enjoyable. It ensures that you’re well-prepared to tackle each step with ease.
Step-by-Step Guide: How To DIY Paint a Room
Follow these step-by-step instructions to successfully paint a room and transform its appearance:
Prepare the room:
- Remove furniture, decorations, and wall fixtures.
- Cover the floor with drop cloths or plastic sheets to protect it from paint splatters.
- Use painter’s tape to mask off areas you want to keep paint-free, such as trim, baseboards, and windows.
Prepare the walls:
- Inspect the walls for any holes, cracks, or imperfections. Fill them with putty and smooth using a putty knife.
- Lightly sand the walls to create a smooth surface for the paint to adhere to.
- Clean the walls to remove dust, dirt, and grease using a mild detergent and water. Allow them to dry completely.
Prime the walls (if necessary):
- Apply a coat of primer to the walls if you’re painting over a dark colour, covering stains, or working on a porous surface. Follow the instructions on the primer product for application and drying time.
Mix and apply the paint:
- Stir the paint thoroughly to ensure a consistent colour and texture.
- Start by cutting in along edges, corners, and trim using a brush.
- Use a roller to apply the paint to the larger wall areas, working from top to bottom in overlapping strokes.
- Maintain a wet edge to avoid visible lines or roller marks. Reload the roller as needed.
Allow the first coat to dry:
- Follow the paint manufacturer’s instructions for drying time. It typically takes a few hours for the first coat to dry completely.
Apply the second coat:
- Once the first coat is dry, apply a second coat of paint following the same technique as before.
- This second coat will provide better coverage and ensure a more vibrant finish.
Clean up:
- Remove the painter’s tape before the paint is completely dry to avoid peeling the paint along with the tape.
- Clean your brushes and rollers according to the paint manufacturer’s instructions. Don’t put this off! Brushes that are properly cleaned last much longer than those that aren’t.
- Dispose of any paint cans or materials properly.
By following these steps, you can achieve a professional-looking paint job and create a fresh and inviting atmosphere in your room.
Clean up and Final Touches of Your DIY Paint Job
- Remove the drop cloths or plastic sheets from the floor, being careful not to spread any paint residue.
- Inspect the painted walls for any touch-ups or areas that may need additional coverage. Use a small brush to fix any imperfections.
- Replace any furniture, decorations, or wall fixtures that were removed during the painting process.
Wrap-up of Tips for a Successful DIY Paint Job
- Choose the right paint: Consider the type of paint suitable for your room, such as matte, eggshell, or semi-gloss, based on your desired finish and level of durability.
- Prep the walls properly: Proper preparation, including cleaning, repairing, and priming, ensures a smooth and long-lasting paint job.
- Use high-quality tools: Invest in good-quality brushes, rollers, and painter’s tape to achieve better coverage and avoid frustrating paint application issues.
- Work in sections: Divide the room into manageable sections to ensure consistent coverage and avoid drying lines between painted areas.
- Paint in the right conditions: Choose a day with moderate temperature and low humidity for optimal paint drying and to prevent issues like bubbling or cracking.
- Take breaks and stay hydrated: Painting can be physically demanding, so remember to take breaks and stay hydrated throughout the process.
- Experiment with colour samples: Test paint colours on a small area or use colour swatches before committing to a full room. This allows you to see how the colour looks in different lighting conditions. Feel free to go mad here, try to throw in a colour you’d never usually pick to see how it looks! Uniqueness is an amazing way to make your home stand out, whether you’re looking to flip or just to impress visitors.
- Protect yourself: Wear appropriate protective gear, such as gloves, goggles, and a mask, especially when sanding or working with strong chemicals. Crack open a window to allow fumes to dissipate faster if possible.
By following these tips and guidelines, you can confidently tackle your DIY paint project and achieve impressive results that enhance the look and feel of your space.