Hanging shelves is an excellent way to add storage and display space to any room. Whether you want to showcase your favourite decor items or create additional organisation, knowing how to hang a shelf is a valuable DIY skill. Ever wondered how to hang a shelf on drywall or how to hang a shelf on a brick wall? In this article, we will guide you through the process of hanging shelves, covering various options and providing step-by-step instructions for installing shelves on different walls like drywall and brick. By the end of this guide, you’ll be equipped with the knowledge and confidence to tackle all of your shelving projects.
Tools You’ll Need:
Before you start hanging shelves on any wall, it’s essential to gather the necessary tools. Here are the tools you’ll need:
- Measuring Tape: For accurately measuring the wall and shelf placement.
- Level: To ensure that the shelves are installed straight and level.
- Pencil: For marking the wall and indicating the shelf placement.
- Stud Finder: Helps locate studs in the wall for secure installation.
- Drill: Needed for making holes in the wall for anchors or screws. If your walls are brick, you’ll need a drill with a hammer or impact mode to avoid damaging either the drill or your wall.
- Wall Anchors and Screws: Provide stability for when you want to hang a shelf on drywall.
- Screwdriver: For tightening screws or attaching brackets.
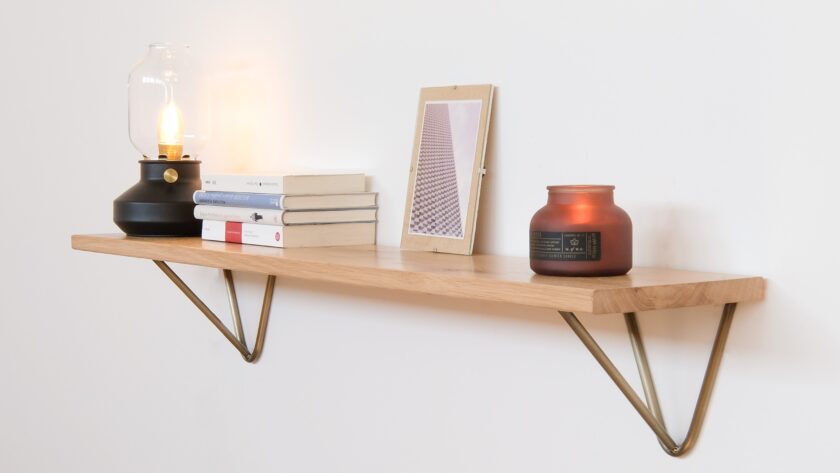
- Shelf Brackets (if applicable): Required for bracket shelves.
- Wall Anchors (if applicable): Used when there are no studs for support.
- Ladder or Step Stool: Provides safe access to higher areas for installation.
- Safety protection: Safety goggles to protect eyes from flying wall debris.
Having these tools ready before you begin will make the process smoother and more efficient. Now that you’re equipped with the necessary tools, let’s explore different types of shelves and their installation methods.
Step-by-Step Guide: General Approach on How to Hang a Shelf on any Wall
Hanging a shelf on any wall follows a similar basic process, regardless of the wall type. Here’s a general guide to help you hang a shelf on any wall:
- Choose the right hardware: Select appropriate wall anchors or screws based on the wall material (drywall, plaster, concrete, etc.) and the weight of the shelf and items to be placed on it.
- Locate the studs or use wall anchors: If you’re hanging a heavier shelf, it’s recommended to secure it directly into wall studs. Use a stud finder to locate the studs behind the wall. If studs aren’t available at the desired location, use wall anchors designed for your wall type.
- Measure and mark: Determine the desired height and position of the shelf on the wall. Use a level to ensure your marks are straight and even.
- Install the brackets or supports: Attach the brackets or supports to the wall using screws or wall anchors. Make sure they are properly aligned with your marks and secure them tightly.
- Mount the shelf: Place the shelf on top of the brackets or supports, ensuring it is level. Secure the shelf to the brackets using screws or other hardware provided.
- Test and adjust: Double-check the stability and levelness of the shelf once it is installed. Ensure it can hold the desired weight without sagging or tilting. Make any necessary adjustments to ensure the shelf is secure and level.
Remember to always follow the manufacturer’s guidelines and weight limits when installing shelves. Taking proper measurements, using appropriate hardware, and ensuring the shelf is securely installed will help create a functional and visually appealing addition to your space. Additionally, double-check the levelness of the shelf during the installation process to ensure a straight and balanced result.
Step-by-Step Guide: How to Hang a Shelf on Drywall
Hanging a shelf on drywall requires some additional steps to ensure proper support and stability. Follow these instructions to learn how to hang a shelf on drywall securely:
Measure and Mark the Shelf Placement:
- Use a measuring tape to determine the desired location for the shelf.
- Mark the spot with a pencil, ensuring it is level.
Locate Wall Studs:
- Use a stud finder to locate the wall studs near the marked spot.
- Mark the positions of the studs with a pencil.
Determine Bracket Placement:
- Depending on the shelf design, determine the number of brackets needed for support.
- Mark the positions of the brackets on the wall, ensuring they align with the stud locations.
Install Wall Anchors (If Needed):
- If there are no wall studs available at the desired shelf location, insert wall anchors into the pre-drilled holes. You can buy different types of drywall anchors (also called hollow wall anchors) which will hold varying weights.Make sure you get ones that are strong enough to hold both your shelf and whatever you choose to store on it!
- Follow the manufacturer’s instructions for proper wall anchor installation, the method will vary slightly depending on what type you use.
Pre-drill Holes:
- Using a drill and a drill bit slightly smaller than the screws, pre-drill holes at the marked bracket positions.
- Make sure the holes are deep enough to accommodate the screws without penetrating the opposite side of the drywall.
Attach Brackets:
- Align the brackets with the pre-drilled holes and secure them in place using screws and a screwdriver or drill.
- If using wall anchors, ensure they are fully seated in the drywall before attaching the brackets.
Place the Shelf on the Drywall:
- Slide the shelf onto the installed brackets, making sure it is level.
- Adjust the position of the shelf as needed.
Secure the Shelf (If Required):
- Some shelves may have additional attachment points or screws to secure them to the brackets.
- Follow the manufacturer’s instructions for securing the shelf in place.
Test the Stability:
- Apply gentle pressure to the shelf to check its stability.
- Make any necessary adjustments or reinforce the installation if needed.
Remember to follow the manufacturer’s guidelines and weight limits for the specific shelf you are installing. It’s always recommended to seek assistance or consult a professional if you are unsure about the installation process or if you encounter any difficulties. Following the above steps should result in you knowing how to hang a shelf on drywall!
Step-By-Step Guide: How to Hang a Shelf on a Brick Wall
Hanging a shelf on a brick wall requires a slightly different approach compared to drywall. Here’s how you can do it:
- Measure and mark the desired height for your shelf on the brick wall. Use a level to ensure the marks are straight and even.
- The main difference between a brick wall and other types is that you’ll need a drill with a hammer function and a masonry drill bit. Use the masonry drill bit to drill holes into the brick at the marked locations. The size of the drill bit should match the diameter of the wall anchors you plan to use. Remember to wear eye protection here.
- Insert wall anchors into the drilled holes. Again, these will be different anchors that you’d use in a drywall. These are generally called masonry sleeves. Tap them gently with a hammer until they are flush with the surface of the wall.
- Attach shelf brackets or supports to the wall by aligning them with the wall anchors. Use screws that are appropriate for masonry and secure them tightly into the anchors.
- Place the shelf on top of the brackets or supports, ensuring it is level. Secure the shelf to the brackets using screws or other hardware provided.
- Double-check the stability and levelness of the shelf once it is installed. Make any necessary adjustments to ensure it is secure and straight.
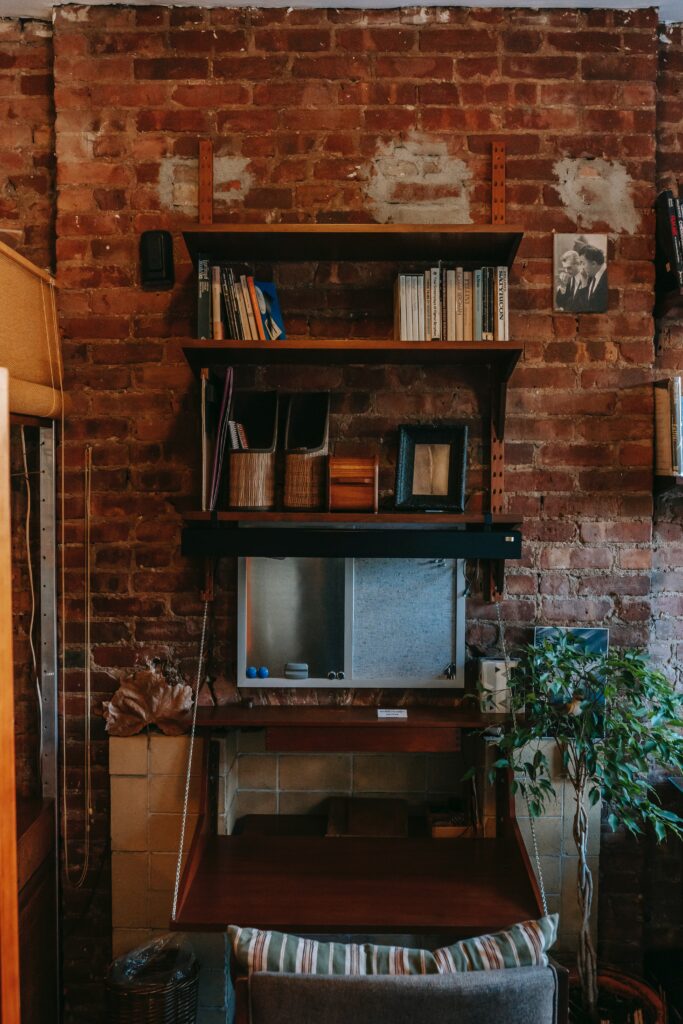
Hanging a shelf on a brick wall can be a bit more challenging than on drywall, but with the right tools and techniques, you can achieve a sturdy and attractive display space.
Hanging a Shelf Without Brackets
For shelves that do not require brackets, there are alternative methods to hang them securely. Here are some common options:
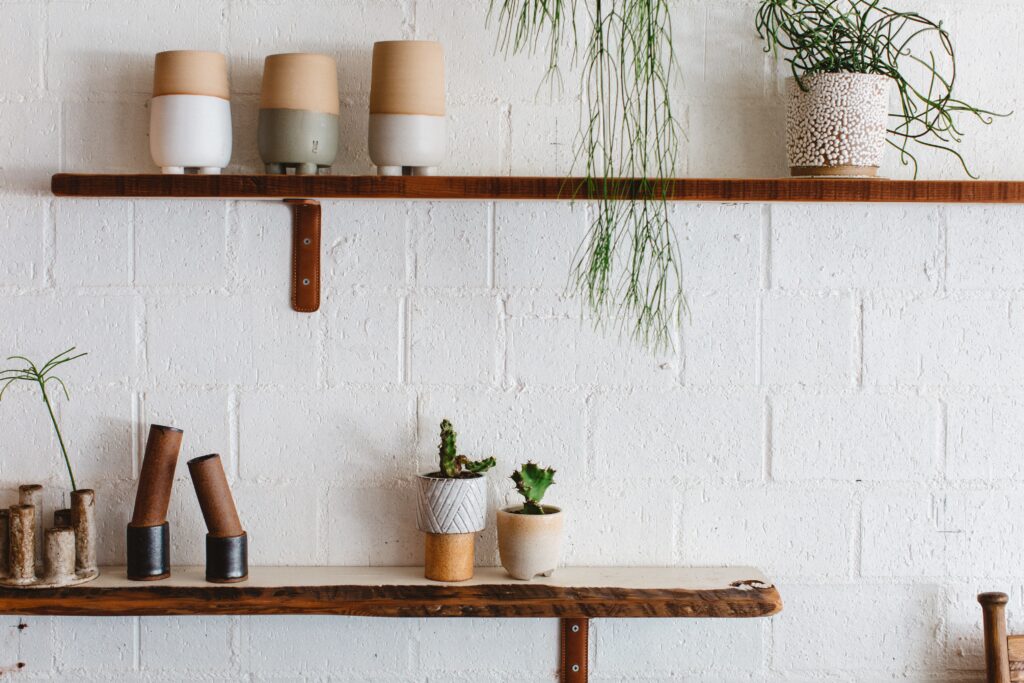
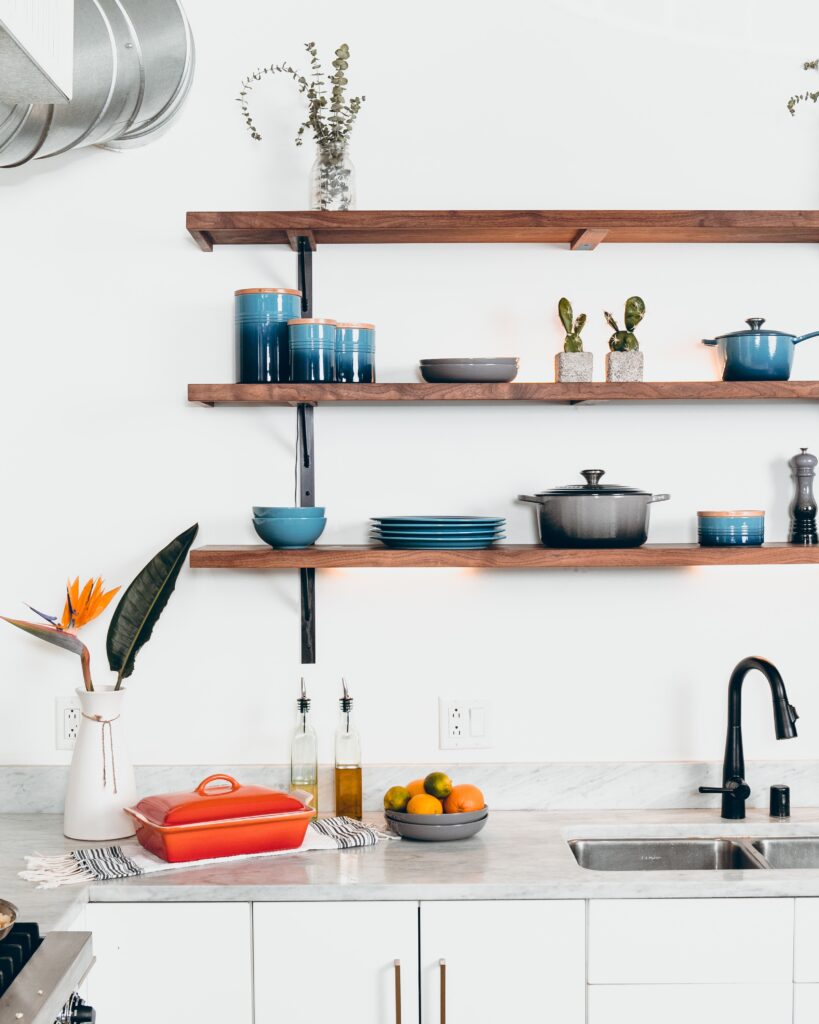
Floating Shelves:
- Floating shelves have hidden brackets or hardware that provide support while giving the illusion of a floating appearance.
- Follow the manufacturer’s instructions to install floating shelves, which typically involve attaching a mounting bracket to the wall and sliding the shelf onto it.
Cleat System:
- A cleat system involves mounting a horizontal strip of wood or metal to the wall and attaching a corresponding strip to the back of the shelf.
- Align the cleats, ensuring they are level, and secure them to the wall and shelf using screws.
French Cleat:
- A French cleat is similar to a regular cleat system but consists of two interlocking angled strips of wood.
- Attach one strip to the wall and the other to the back of the shelf, making sure they fit securely together.
Remember to choose the appropriate method based on your shelf type and weight capacity. Always follow the manufacturer’s instructions for installation and ensure that the wall and shelf materials can support the weight.
How To Make and Hang a Rustic Shelf
Creating a rustic shelf using reclaimed or old wood is a wonderful way to add character to your space. Start by finding a piece of wood that fits your desired dimensions. Sand it down to remove any rough edges or splinters, and then apply a wood stain or paint for a rustic finish. Attach brackets or supports to the wall, ensuring they are securely anchored. Place the reclaimed wood on top, aligning it with the brackets, and secure it in place using screws or nails. This DIY project not only adds functional storage but also brings a charming and rustic touch to your home decor. Try some of our 97 upcycling ideas.
Where Should I Put My Shelves?
When it comes to finding the perfect spot for your shelves, consider utilizing unused alcoves or nooks. These spaces often go unnoticed, but they can be transformed into stylish and practical storage areas. Install shelves in these areas to display decorative items, books, or even create a small home office setup.
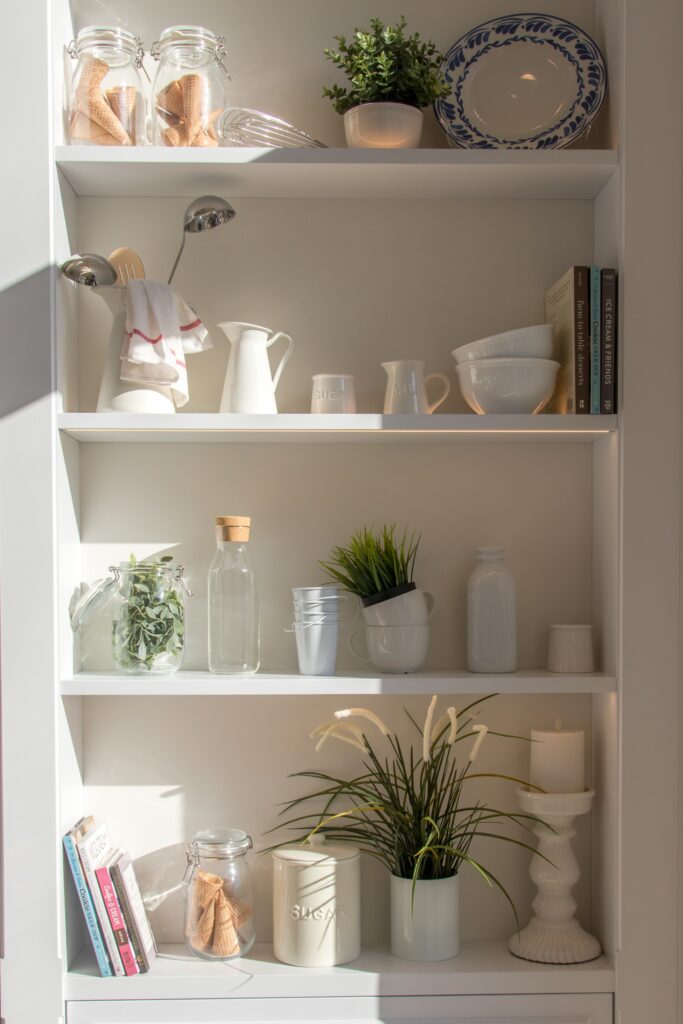
Additionally, consider installing shelves at waist level or higher up on the walls. This allows for a visually pleasing display of items while keeping them within easy reach. Whether you want to showcase family photos, store kitchen essentials, or exhibit your collection of books, incorporating shelves at different heights adds dimension and functionality to any room in your home. This can also help with adding verticality to your home, and making a small space go further.
Summary
Hanging a shelf can be a practical and aesthetic addition to your home. Whether you opt for brackets or alternative methods, follow these general guidelines:
- Start by planning the shelf’s placement and considering the weight it will bear.
- Use the appropriate tools, such as a stud finder, level, and drill, to ensure accuracy and stability.
- Take into account the type of wall (drywall, plaster, brick etc.) and adjust the installation method accordingly.
- Always follow the manufacturer’s instructions and weight limits for the specific shelf you are installing.
- Test the stability of the shelf before placing any items on it.
By following these steps, you can confidently hang shelves and create functional and stylish storage solutions in your home. Congrats! You’ve now learnt how to hang a shelf on drywall, brick wall, and everything in between! Remember to prioritise safety (when drilling always use eye protection!) and consult professionals if needed. What is your favourite type of shelf? Tell us below in the comments!