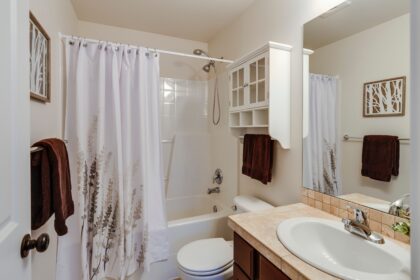
Baths and showers are some of the most frequently used areas of a bathroom, which means they need regular maintenance to keep them in good condition. Applying a sealant is one of the most important steps you can take to ensure that water doesn’t seep into the walls or floors, causing damage to your home. Here’s a step-by-step guide on how to apply a sealant on your bath or shower. If your sealant still has some life in it, consider cleaning it instead.
Preparing the Bath or Shower for Sealing
- Clean the area thoroughly with a bathroom cleaner to remove any dirt, grime, or soap scum before applying sealant. This will ensure that the sealant adheres properly to the surface.
- Dry the area completely with a towel or cloth.
How to Apply the Sealant
- Choose the Right Sealant: Choose a silicone-based sealant that is specifically designed for use in bathrooms. It is resistant to mould, mildew, and water, making it perfect for this type of application. Choose a colour that matches your bathroom décor.
- Cut the Sealant Nozzle: Use scissors to cut the nozzle of the sealant at a 45-degree angle. This will allow the sealant to flow smoothly and evenly.
- Apply the Masking Tape: Apply masking tape along the edge of the area you want to seal. This will create a straight line and prevent the sealant from spreading beyond the area you want to cover.
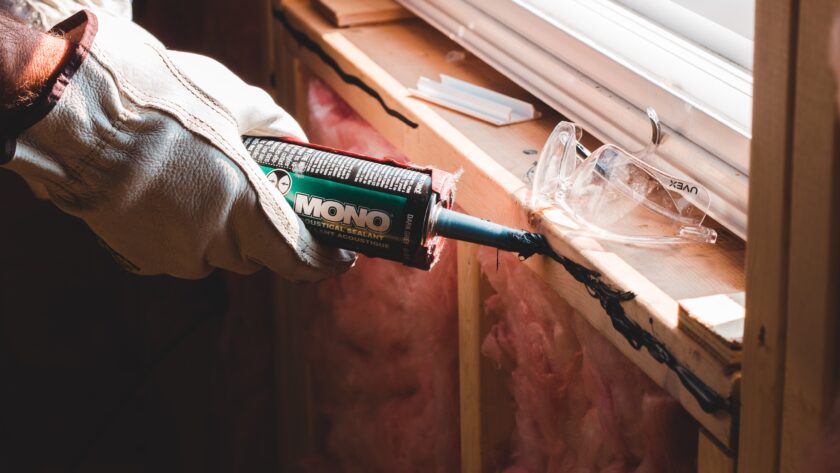
- Apply the Sealant: Hold the sealant gun at a 45-degree angle and slowly apply the sealant in a continuous line along the edge of the area you want to seal. Make sure the sealant fills the gap completely.
- Smooth Out the Sealant: Use your finger or a sealant smoothing tool to smooth out the sealant and create a neat finish. Work quickly before the sealant starts to set.
Tip: Use a mixture of washing up liquid and water to cover your fingers before smoothing to avoid sticky fingers!
- Remove the Masking Tape: Carefully remove the masking tape while the sealant is still wet to create a neat edge.
- Allow it to dry: Leave the sealant to dry for at least 24 hours before using the shower or bath. It’s important to avoid getting the sealant wet during this time. Check the instructions on the tube to be safe – some manufacturers may suggest a longer drying time.
Removing Old Sealant
- Use a sealant remover tool to remove old sealant from the area you want to seal.
Cost saving tip: if you don’t have a sealant remover tool, you can use a Stanley knife alternative instead
- Clean the area thoroughly with a bathroom cleaner and dry it completely before applying new sealant.
Common Mistakes to Avoid
- Not cleaning the area properly before applying the sealant.
- Applying too much sealant or not filling the gap completely.
- Using a sealant that is not designed for use in bathrooms.
- Using a sealant that is not the right colour to match your bathroom décor.
Applying a sealant on your bath or shower is an easy and affordable way to keep your bathroom in good condition. With these step-by-step instructions, you’ll be able to do it yourself in no time!