Radiators are essential for keeping our homes warm, but they can also be unsightly and take up valuable wall space. If you want to hide your radiator and add a stylish touch to your home, consider making your own DIY wooden radiator cover. It’s a simple and affordable way to conceal your radiator and add a decorative touch to your living space.
Why hide a radiator with a DIY radiator cover?
As we know, radiators, especially older ones, often don’t match our chosen styles. Perhaps they came with the house when we bought it, or were installed by the landlord in rented properties. Either way, they can be expensive to replace, and often work fine, albeit not looking great whilst doing it!
Here at DIYonaBudget.com, we love finding extra storage space, whether its purely practical in a smaller home or apartment, or as an added feature placement in larger homes. A DIY radiator cover is a great added storage area, perhaps for a key bowl in the hallway, a stand up calendar in the kitchen, or a bedside table/nightstand in the bedroom. The possibilities are endless, and if you could up with any inventive things to store on your new DIY radiator cover, let us know in the comments!
Please remember to limit anything stored on top of your cover to items that can *ahem*, ‘take the heat’!
Making the DIY radiator cover
What will I need?
- Wood slats/stripwood (1×2 inch or 1×3 inch as a guide)
- Saw (hand or power)
- Screws or Nails
- Drill
- Measuring tape
- Pencil (for marking lengths)
- Sandpaper
- Wood glue (optional)
- Hammer (optional)
- Wood filler
- Paint or stain
Step-by-Step Guide:
- Take measurements: Measure your radiator to determine the size of the cover you need. Make sure to leave at least an inch of space between the cover and the radiator to allow for air flow.
- Trim the wood: Cut the wood slats to size using your saw, making sure to leave enough length to overlap at the corners.
- Sanding: Sand the wood slats until they are smooth.
- Construct the outer frame: Using wood glue and screws, attach the slats together at the corners to create a frame. We recommend that you ensure your wood glue is suitable for hotter environments, or just play it safe and use nails or screws.
- Complete your cover: Attach the slats to the frame using screws or nails. Make sure to leave a small gap (we recommend at least a cm) between each slat for air flow.
- Tidy up: Fill any gaps or holes with wood filler and sand until smooth.
- Decorate: Paint or stain the cover to match your decor. If you’re unsure on what colour to use, when not leave it as is for the time being? Depending on your internal colour palette, natural wood can enhance a natural/rustic colour scheme.
What are some other tips for hiding radiators at home?
- Use a folding screen or room divider to hide the radiator when it’s not in use. This is a great option for small apartments or rooms where space is limited.
- Hang a piece of artwork or a decorative mirror over the radiator to draw attention away from it.
- Place a piece of furniture, like a bookcase or sofa, in front of the radiator to conceal it from view.
- Install a built-in shelf or cabinet around the radiator to provide extra storage and create a seamless look.
Ideas for Different Wooden Radiator Cover Styles:
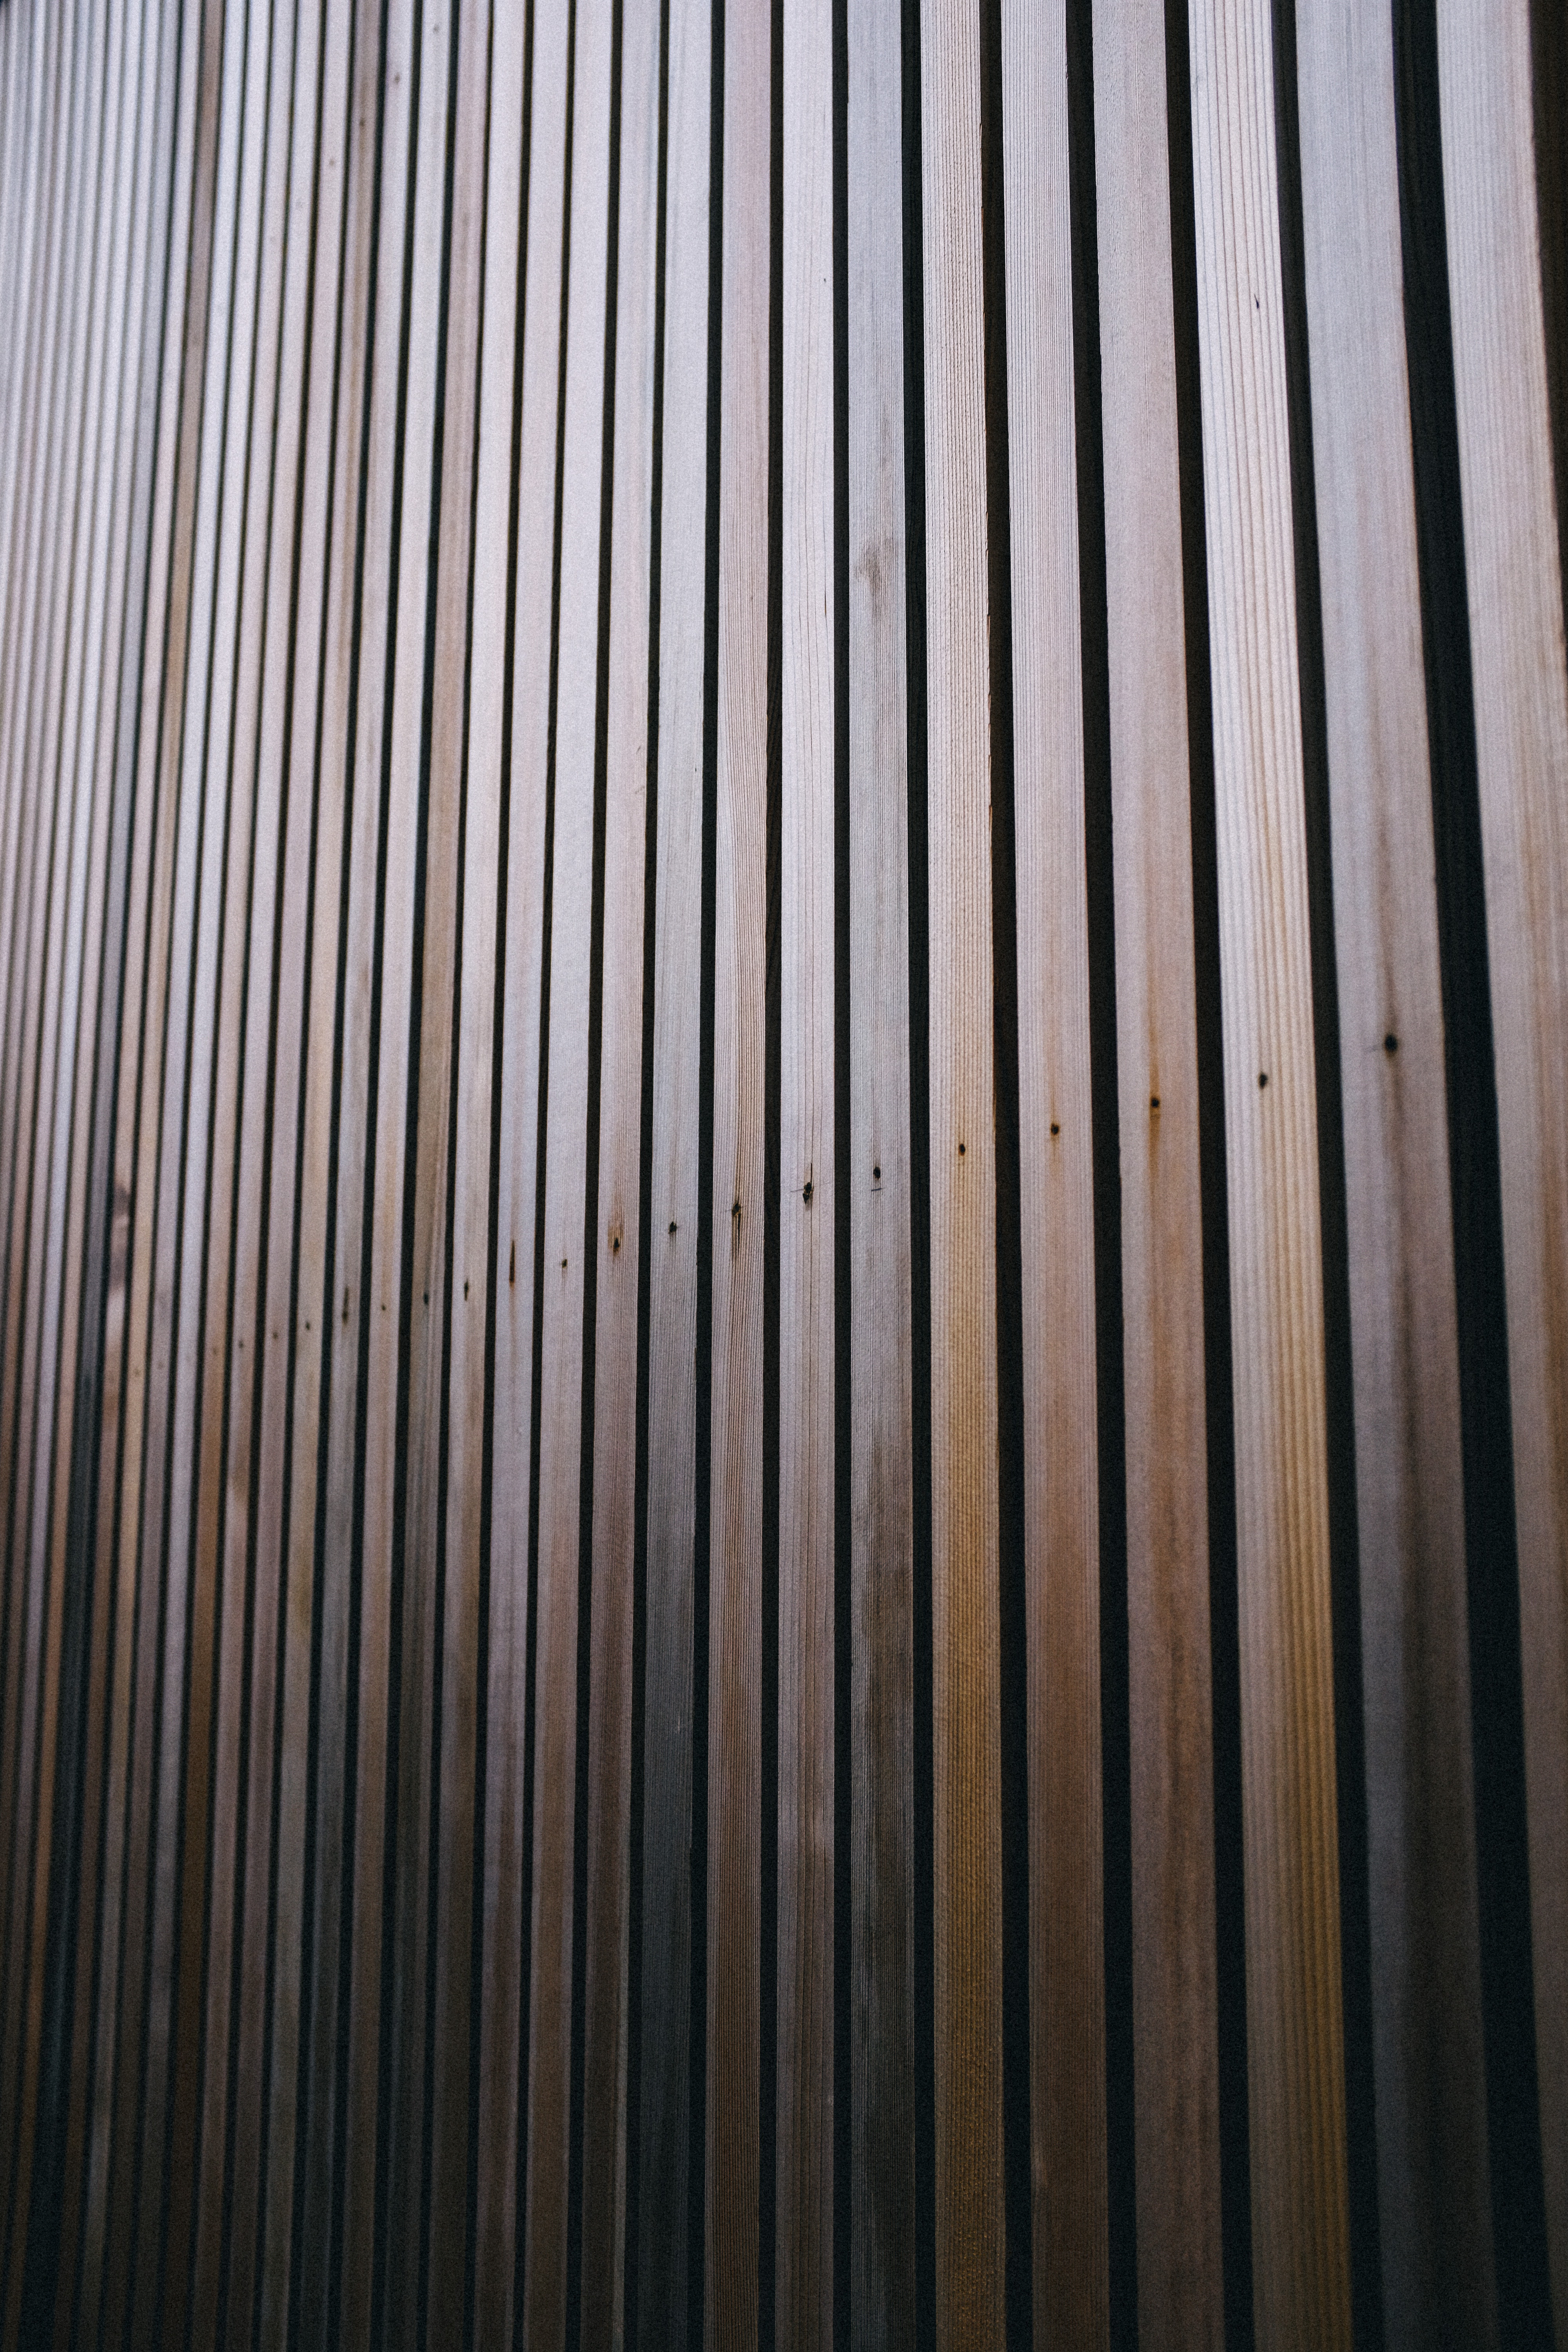
- Chevron or herringbone pattern: a modern twist on the classic wooden slats, adding interest and texture to your cover.
- Shaker style: simple and elegant, with clean lines and a minimalist design.
- Reclaimed wood: a rustic and eco-friendly option that adds character and warmth to your living space.
With these simple steps and tips, you can make a stylish and functional radiator cover that will add warmth and charm to your living space.
Safety Notice: When working with power tools or sharp objects, always wear protective gear, including safety goggles and gloves. Use caution and follow all manufacturer instructions and safety guidelines.