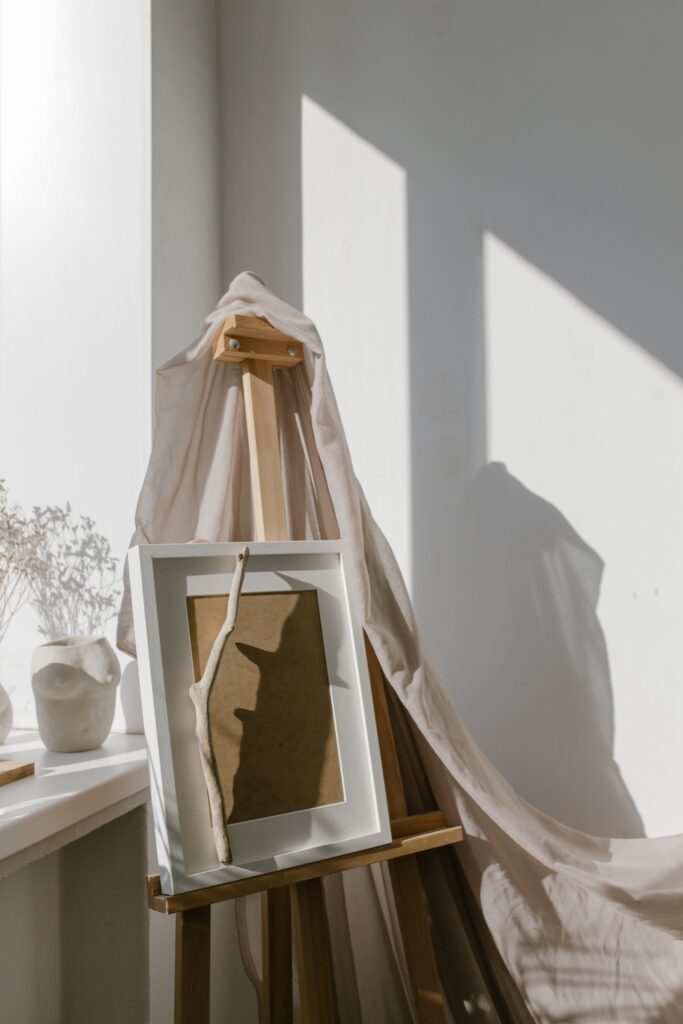
Are you looking for a budget-friendly and easy way to display your favorite photos or artwork? Making your own picture frame is a great option, not only is it cost-effective, but it also allows you to customise the look to match your decor style. Making a simple DIY picture frame also lets you use some of those creative juices, whilst potentially upcycling unloved materials from around the house and garden. Here are a few simple DIY picture frame ideas that you can try:
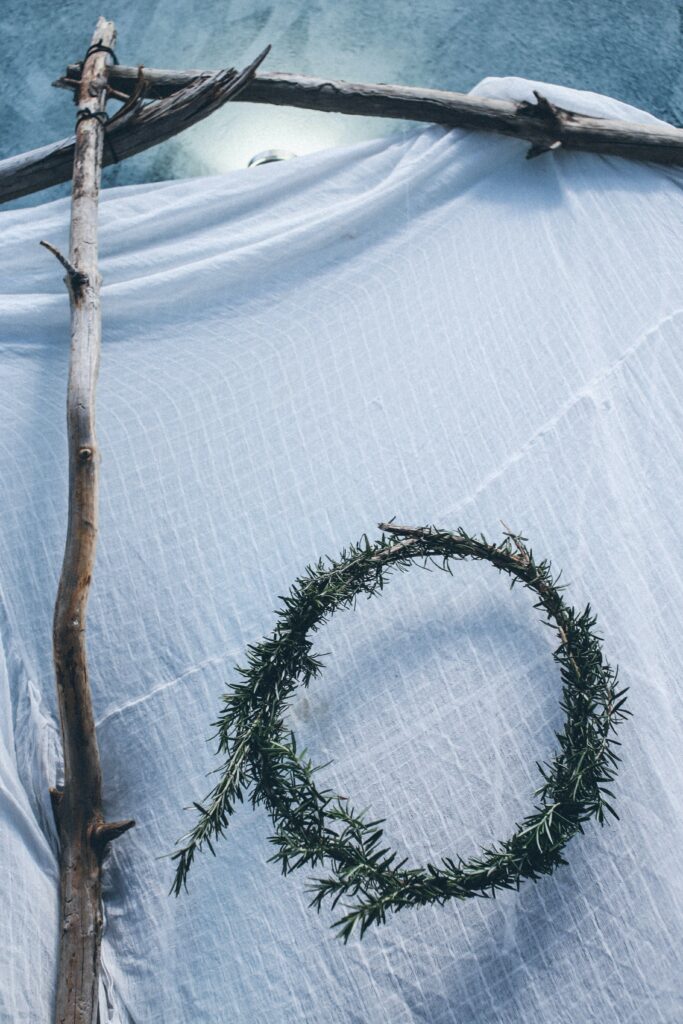
- Sticks and Twine Frame – Collect four similar sized sticks and tie them together with garden twine at each intersection to make a rustic frame. You can also paint the sticks to match your decor style.
- Bulldog Clip Frame – Attach a bulldog clip to a flat piece of wood using superglue or a strong wood glue to create a minimalistic frame that’s perfect for modern or industrial-style decor. You can also cycle pictures around different areas of the house with this method!
- Book Cover Frame – Cut out a rectangle from the front or back cover of an old book and attach a memory to create a unique and vintage-looking frame.
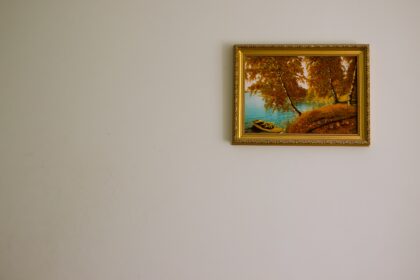
Of course, traditional wooden frames are also an option!
What you’ll need to make a simple DIY picture frame:
- Wood: You can buy pre-cut frame pieces, reclaimed wood, or use a saw to cut your own from a larger piece of wood
- Miter Saw: To make precise cuts at a 45-degree angle for the corners of your frame.
- Sandpaper: To smooth out any rough edges or surfaces.
- Wood Glue: To hold the frame pieces together.
- Clamps: To keep the frame pieces in place while the glue dries.
- Picture Frame Hangers: To hang the frame on the wall.
Step 1: Measure and Cut the Wood Measure and cut your wood to the size you need for your picture frame. Make sure to use a mitre saw or hand saw to ensure clean, accurate cuts. If you’re using reclaimed wood, skip to Step 3.
Step 2: Sand the Wood Use sandpaper to sand the edges of the wood pieces until they are smooth.
Step 3: Glue the Wood Pieces Together Apply glue to the edges of the wood pieces and clamp them together. Make sure to wipe off any excess glue that oozes out of the edges. Let the glue dry according to the manufacturer’s instructions.
Step 4: Add Picture Hanging Hardware Once the glue is dry, add picture hanging hardware to the back of the frame.
Step 5: Decorate (Optional) If desired, paint or decorate your picture frame with stickers or stencils. You can also leave the frame as is for a more rustic look.
Give the glue plenty of time to dry to avoid bangs in the night as your creation comes crashing down!
Finally, attach the your DIY picture frame hangers to the back of the frame and add your favourite picture! I’ll cover how to hang a painting or picture frame properly in a future post which will be linked here – so watch this space!
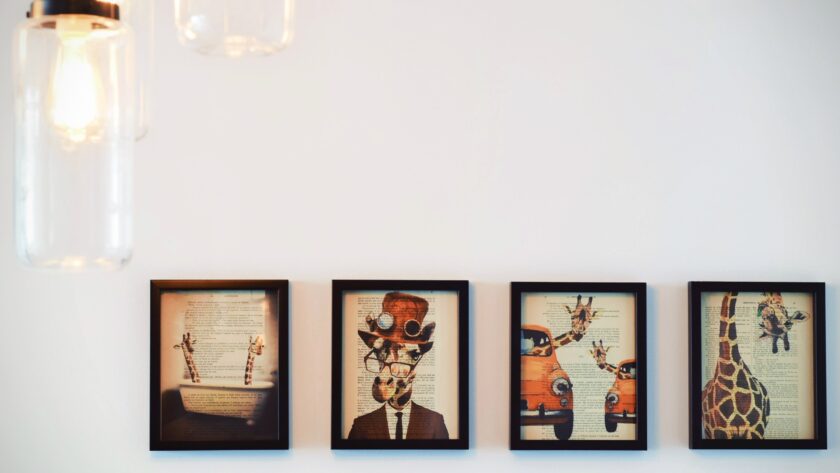
No matter which simple DIY picture frame option you choose, you’ll be able to proudly display your cherished memories in a unique and personalised way – whilst hopefully reusing some of that ‘waste’ material you have lying around. If you don’t have this – why not go for a walk in your local park for a scouting mission?
Have any other DIY picture frame ideas? Leave them in the comments below!